Once you connect your Adobe Analytics account to Veritone Attribute, your website traffic analytics are piped in and correlated against your broadcast partner’s spot data. This will enable your broadcast partner to share attribution insights with you.
There are three steps to complete this setup.
A. Create a new Adobe project
Before you begin
1. Set permissions in the Adobe Admin Console.
Set permissions in the Adobe Admin Console to ensure your service account can access the necessary data from Adobe Analytics. Log in to the Adobe Admin Console with your Adobe ID.
2. Navigate to Adobe Analytics.
-
In the Admin Console, click Products in the top navigation bar.
-
Find Adobe Analytics in the list of products and click.
3. Create or select a product profile.
If you already have a product profile for the service account, select it. Otherwise,
- Click New Profile. Enter a name and description for the profile.
- Click Save.
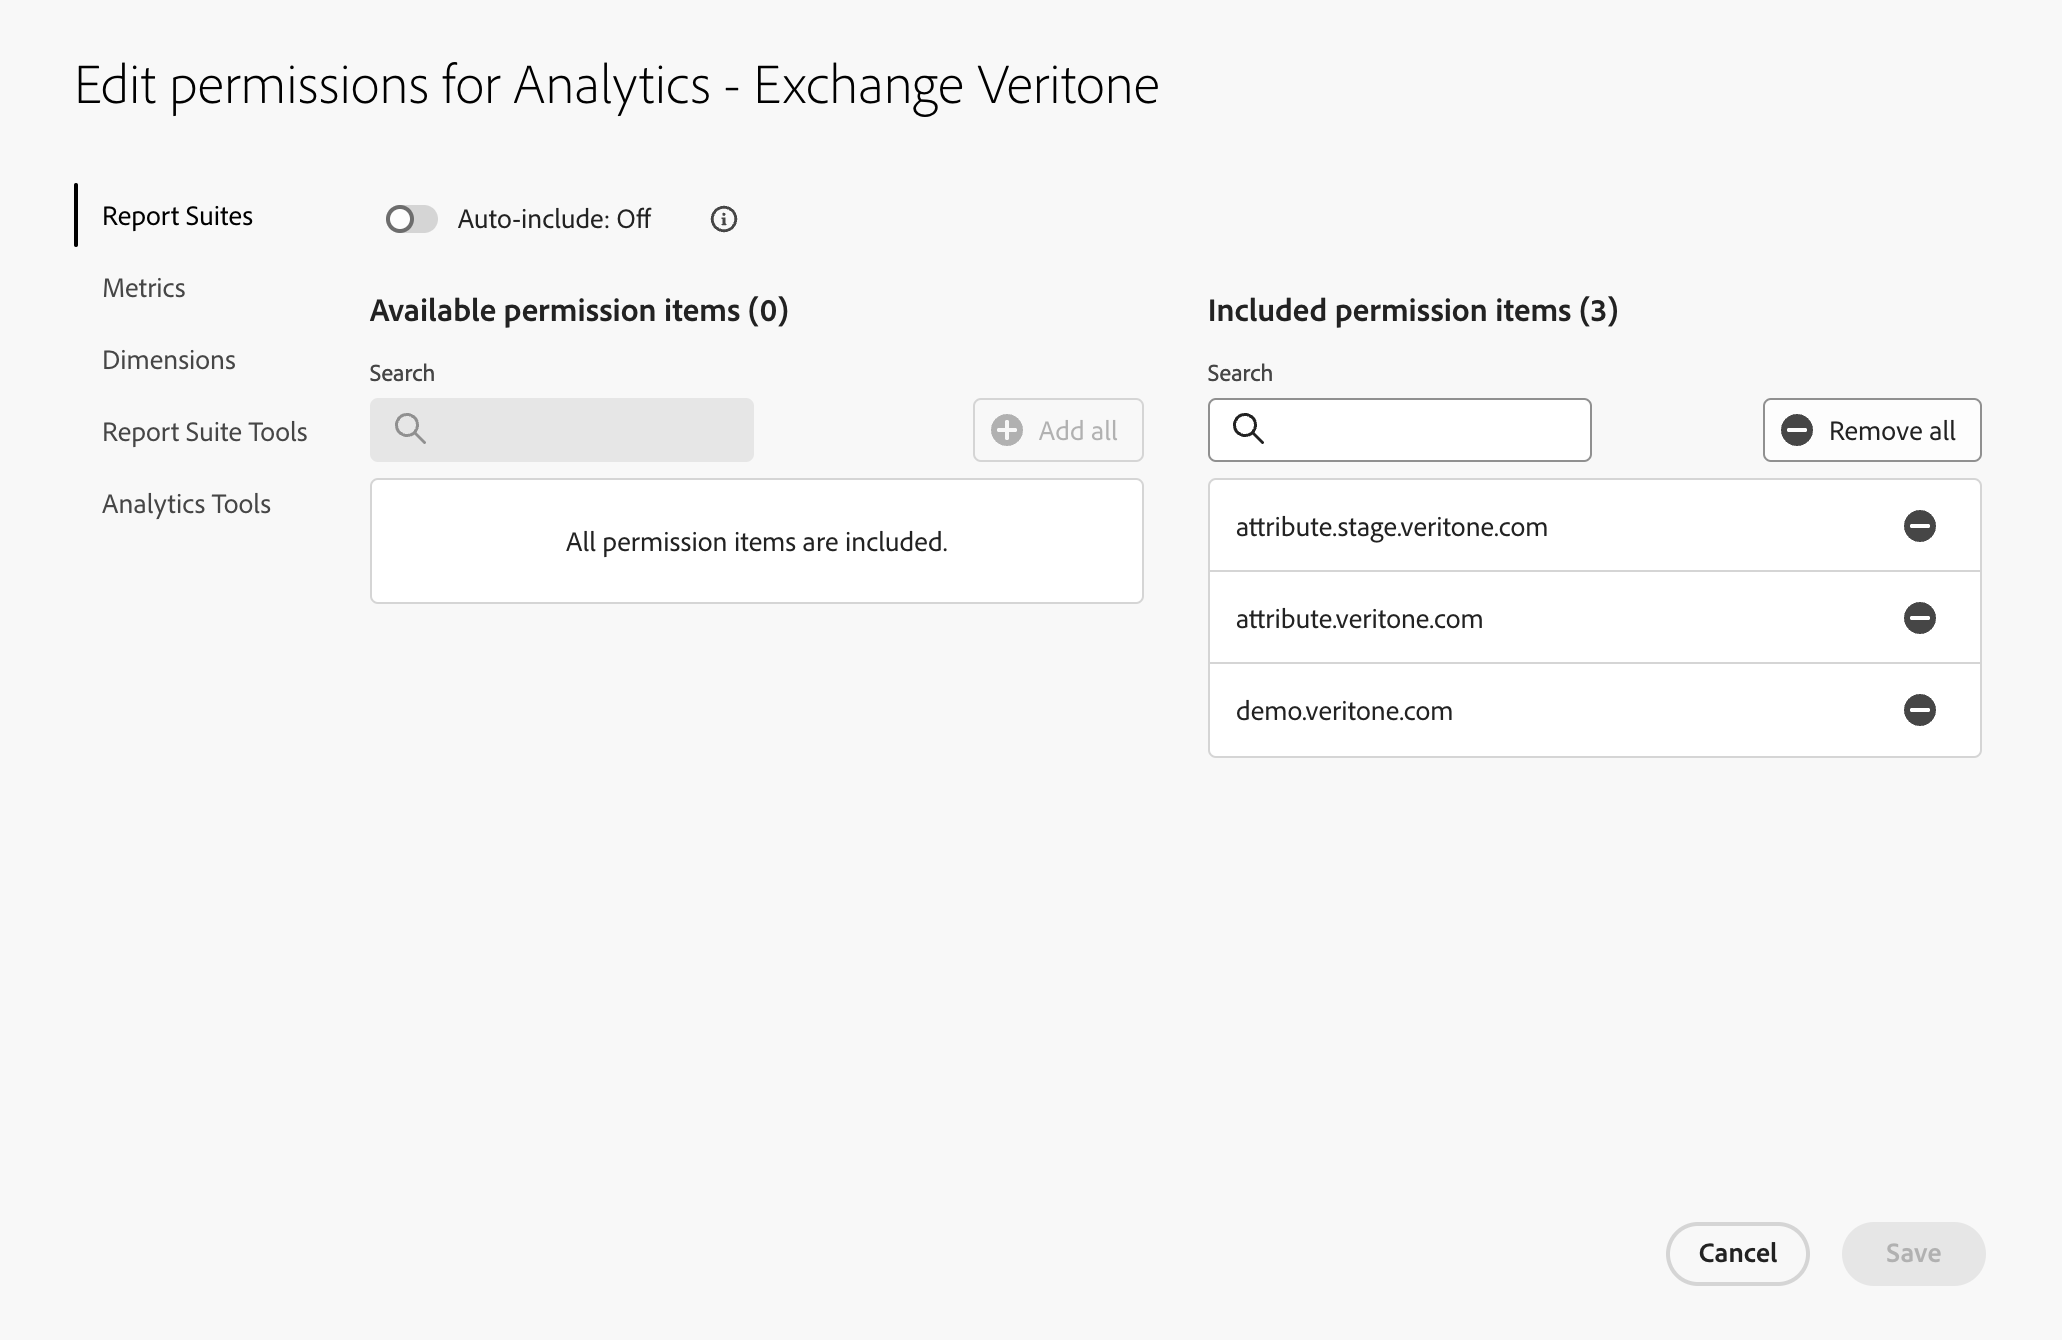
4. Assign permissions to the product profile.
-
Select the product profile you want to configure.
-
Under Permissions, click Edit Permissions.
-
Assign the necessary permissions for accessing report suite data.
5. Add a new developer.
-
Navigate to the Users tab in the top bar of the product profile. Click the Developers tab in the left menu.
-
Click the Add Developers button.
-
Enter the email address associated with your service account (found in the JSON file downloaded earlier).
-
Click Save.

6. Verify access.
-
Ensure that the service account has been added to the product profile and that it has the necessary permissions.
-
If necessary, you can test the configuration by making a simple API call to Adobe Analytics to verify that the service account can access the report suite data.
B. Set up the Adobe Developer console
1. Create a new project.
- Log in to the Adobe Developer Console with your Adobe ID.
- On the homepage, click Create a new project.
- Choose Add empty project or select a template if available.
- Enter a name for your project and click Save.
2. Add Adobe Analytics API to your project.
-
In your newly created project, click Add API.
-
Choose Adobe Analytics from the list of available APIs.
-
Click Next.
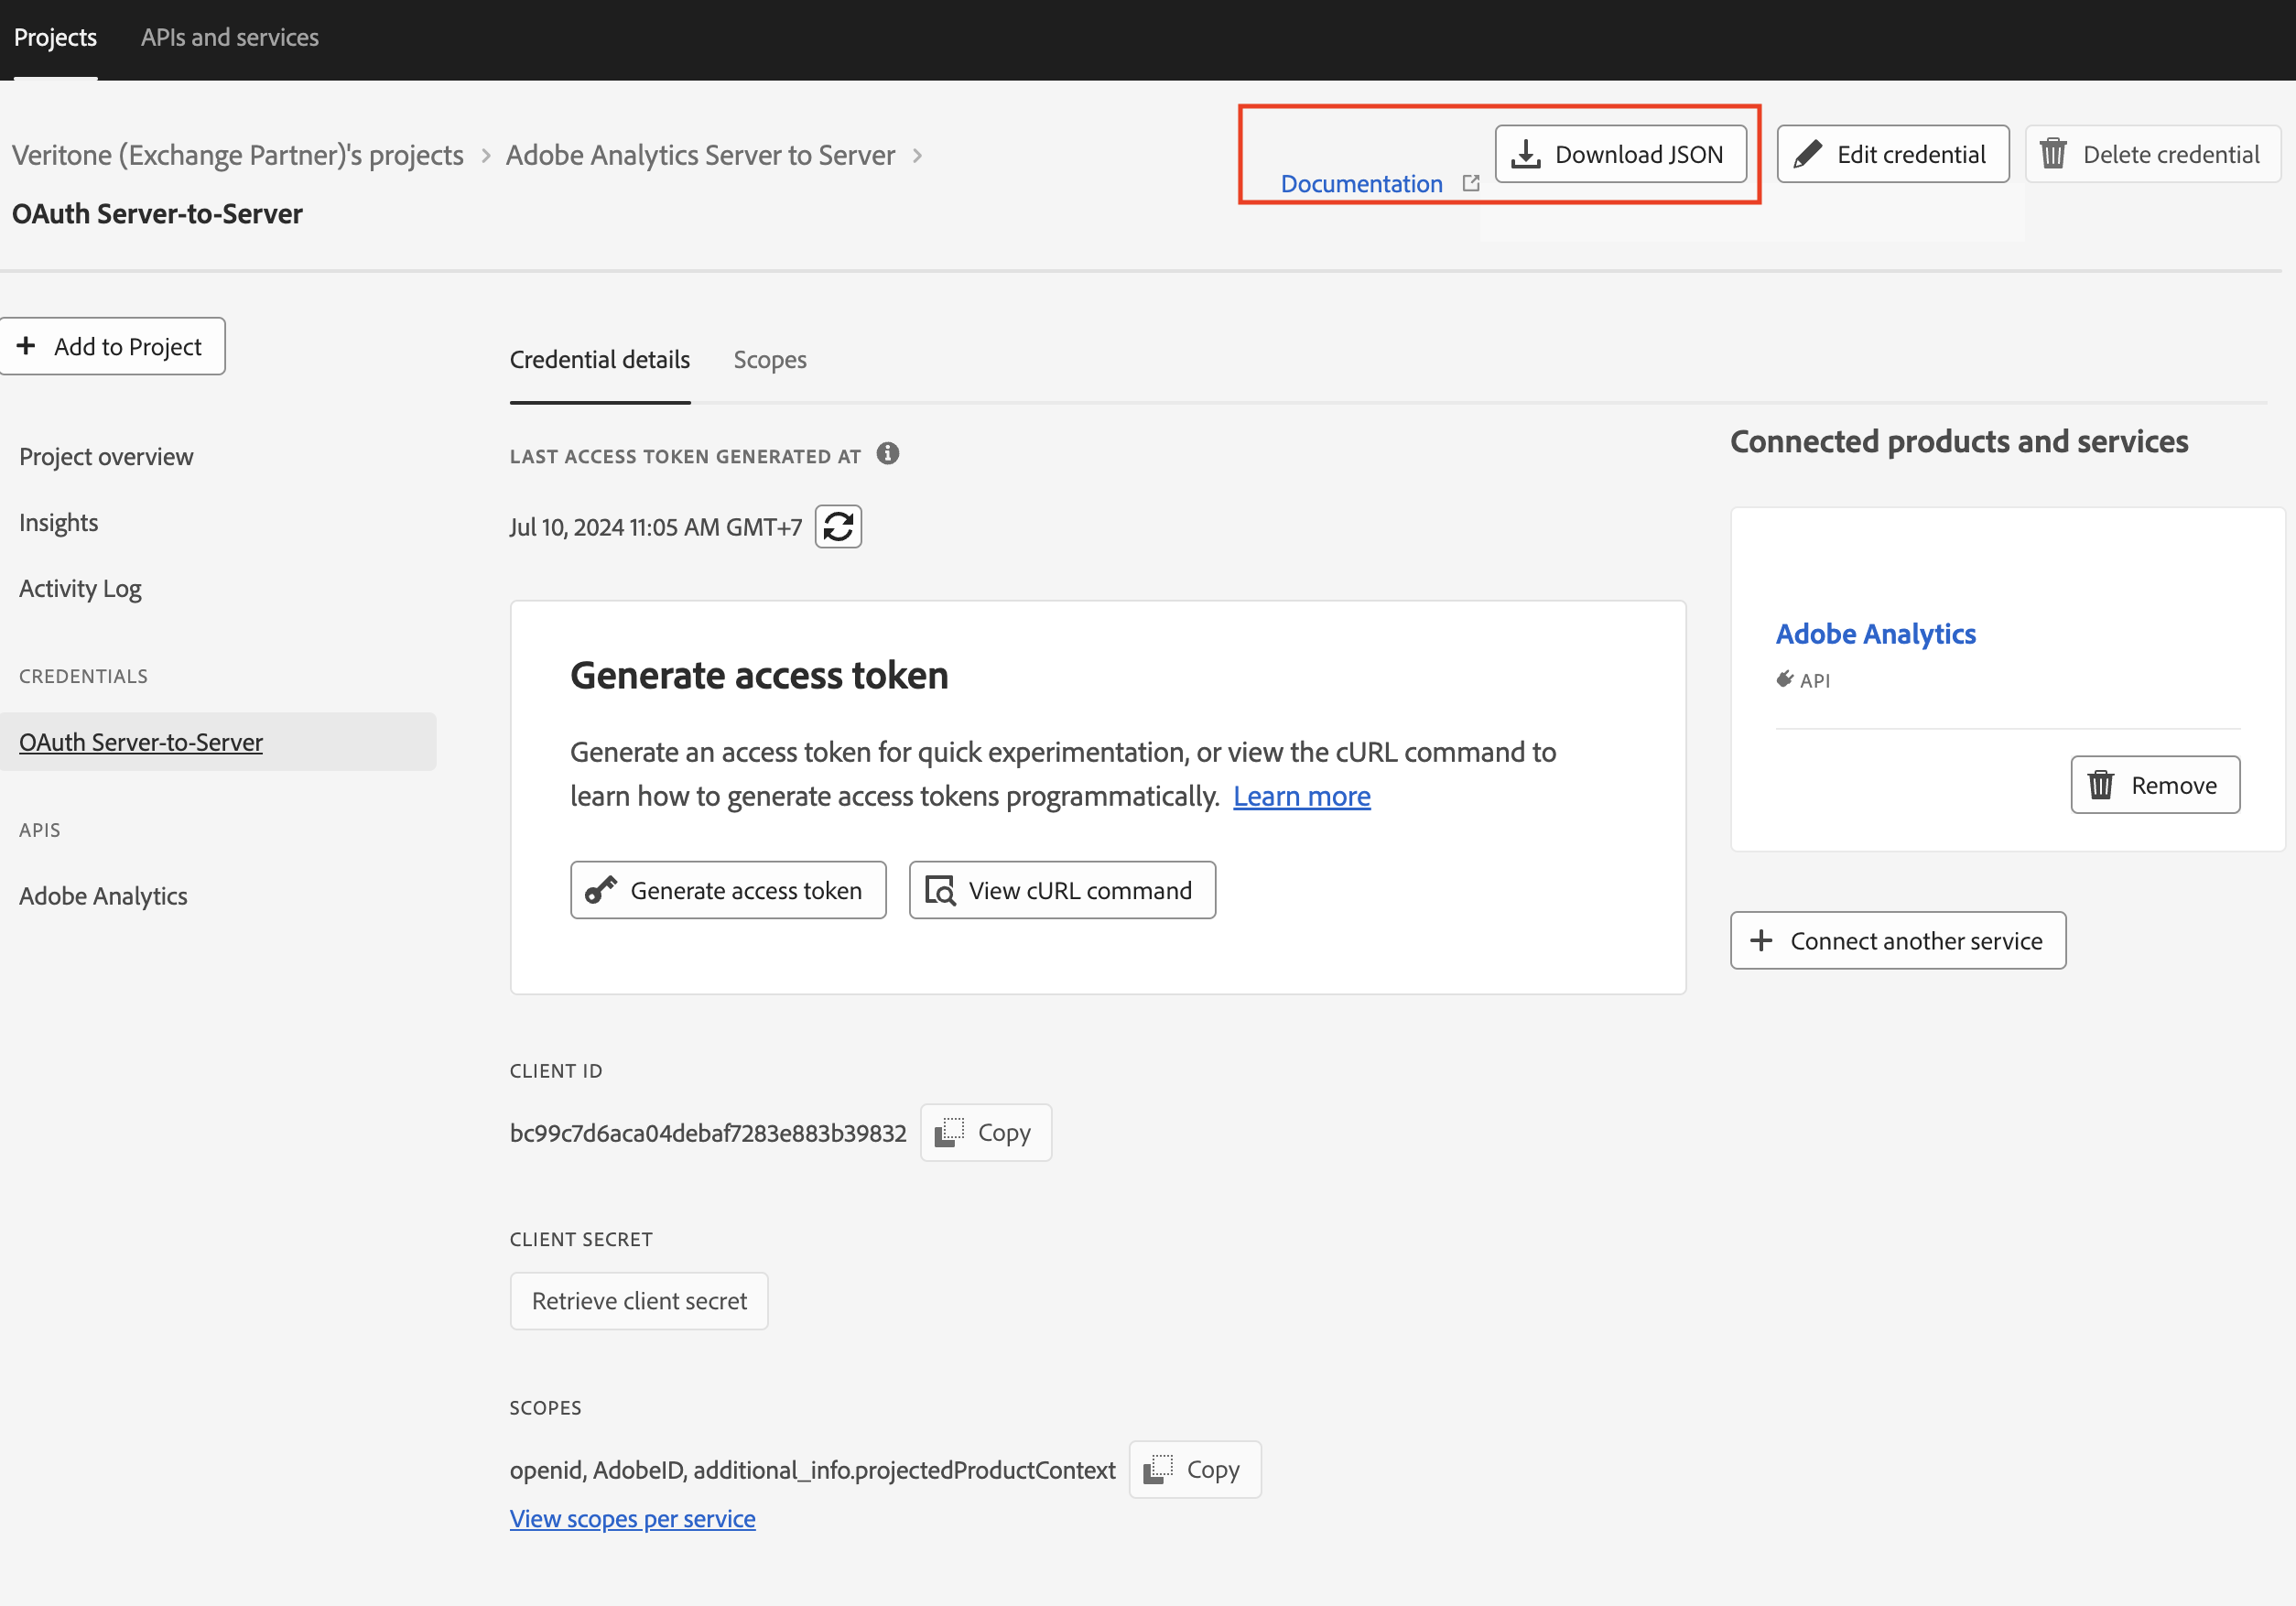
4. Generate OAuth credentials.
-
Download the credentials JSON file generated by Adobe. You will need this to authenticate your server.
-
Click Download JSON to save the JSON file containing the client ID, client secret, technical account ID, and other necessary information.
Now that the project is created and the console is set up, you can accept the invitation to connect.
C. Connect to your Adobe Analytics account
Before you begin
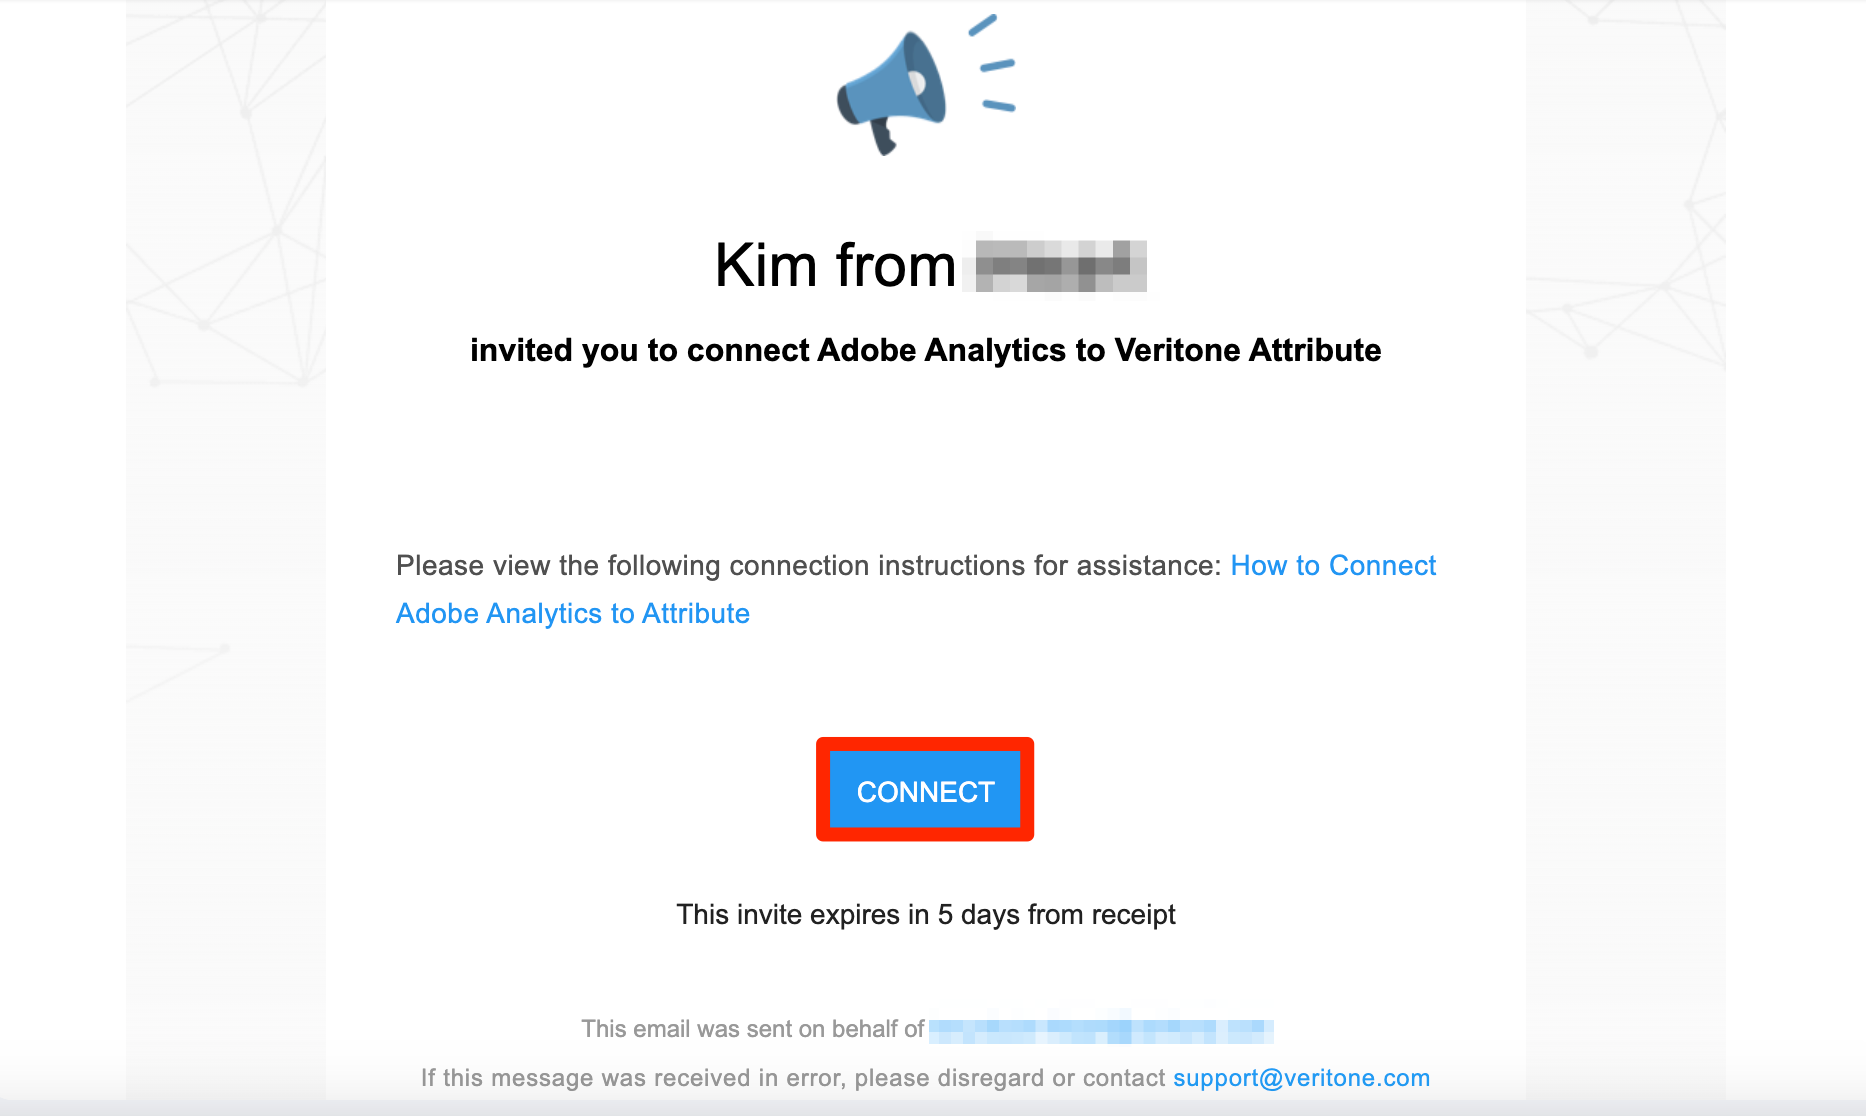
- You will receive an invite to connect via email. Once received, click CONNECT.
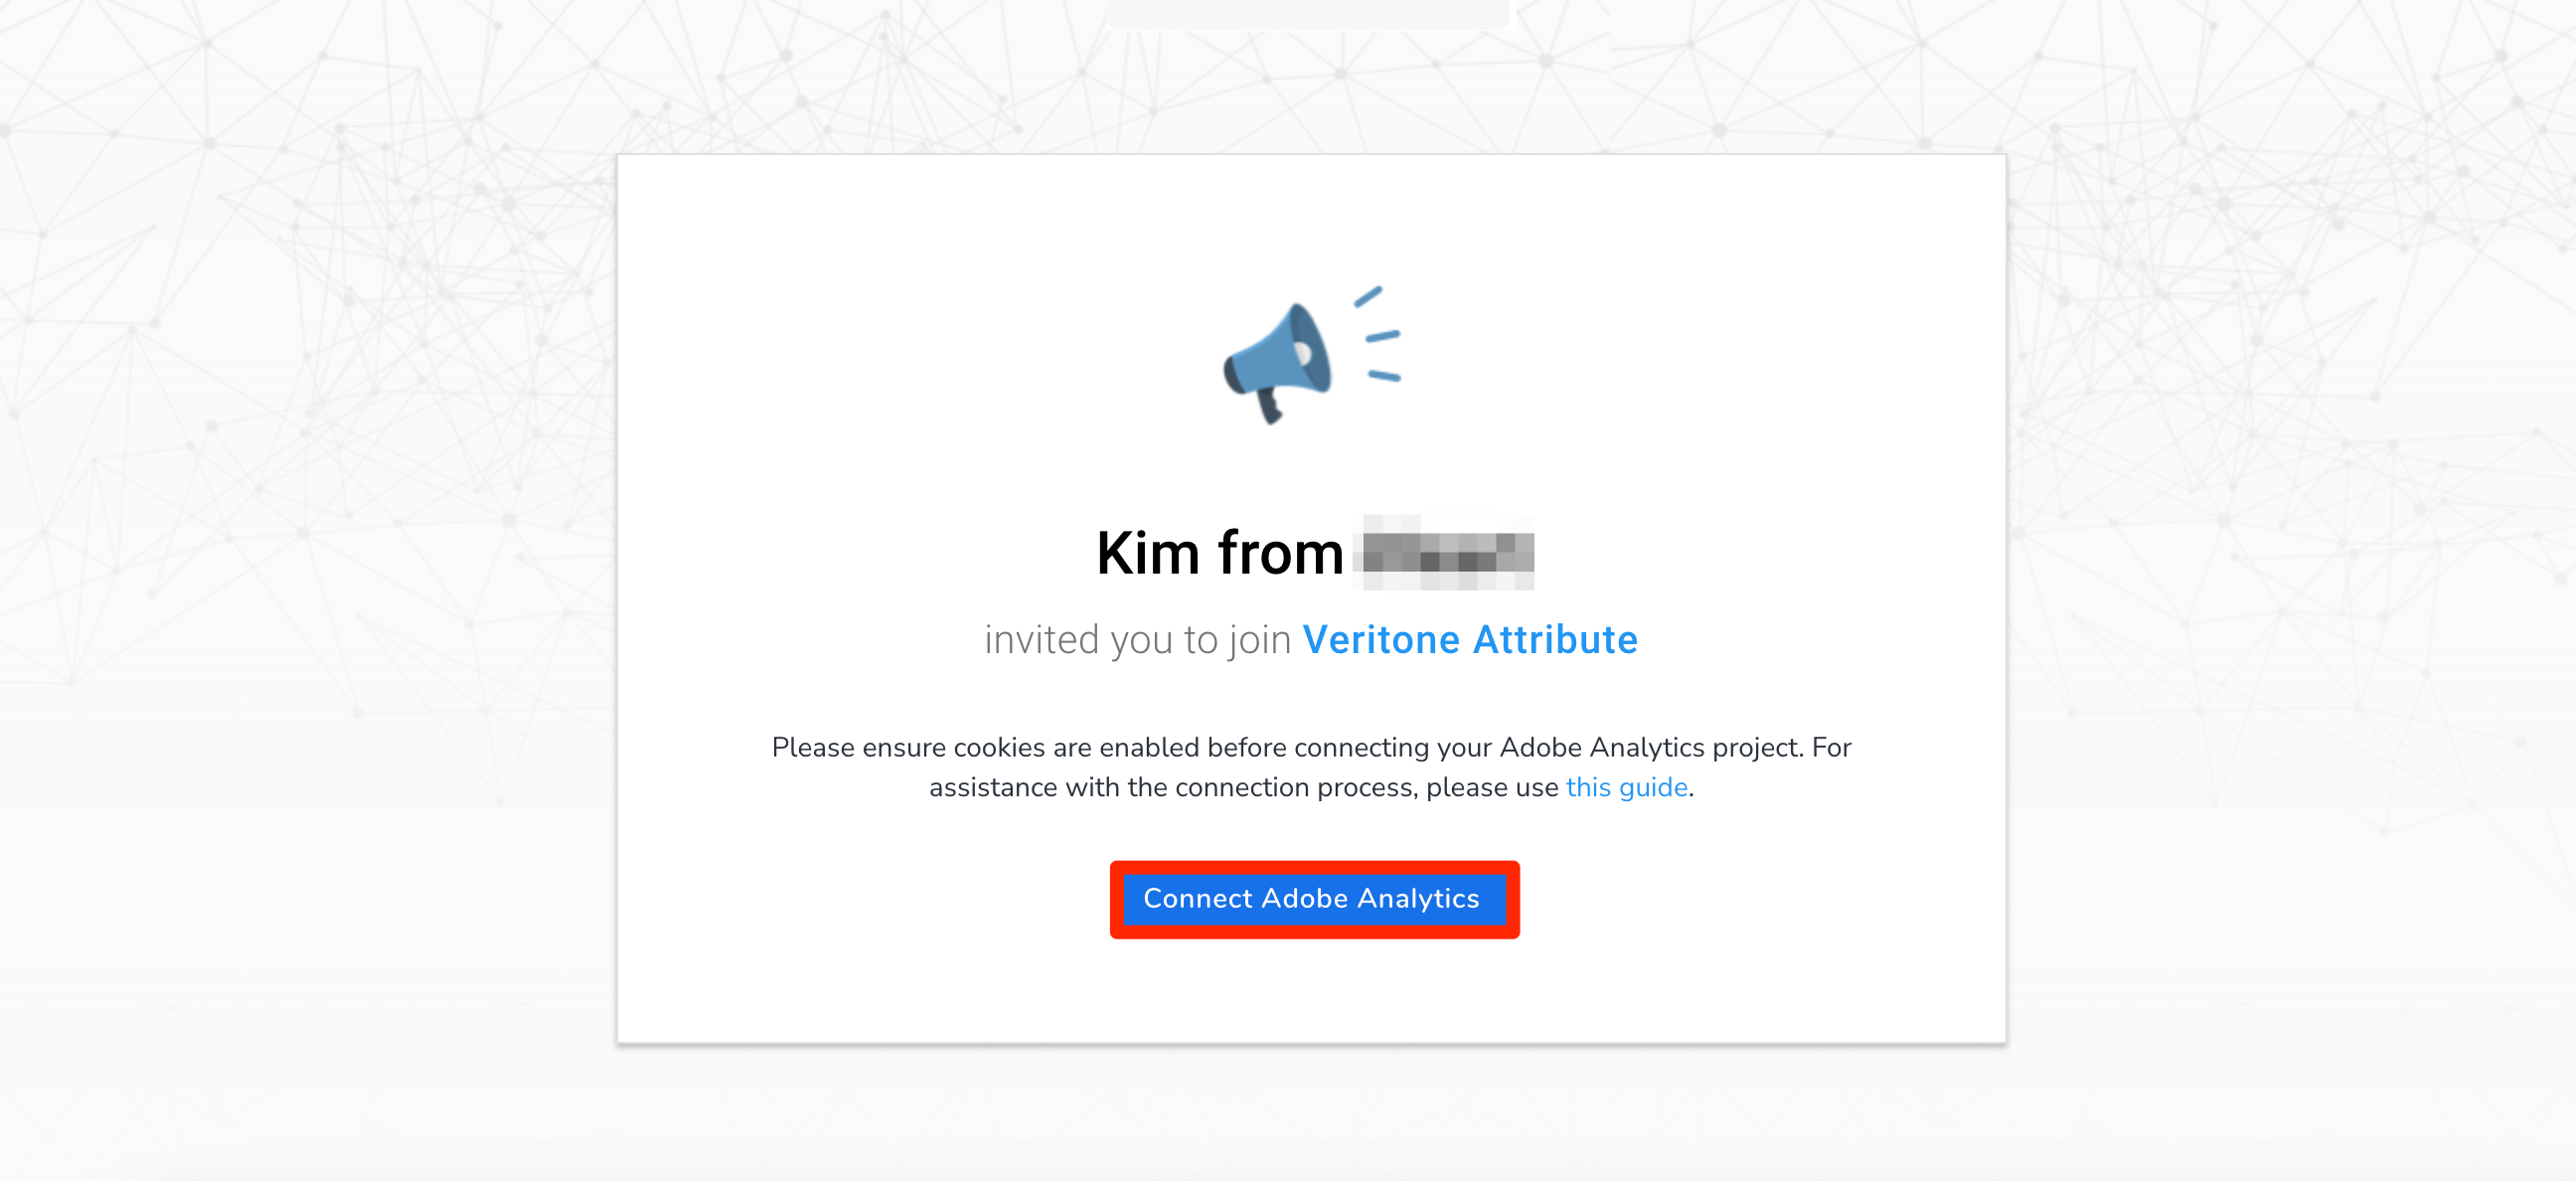
- A new tab will open in Google Chrome. Click CONNECT ADOBE ANALYTICS.
-
A new Adobe Credentials form opens. Enter your client ID and client secret then click Next.
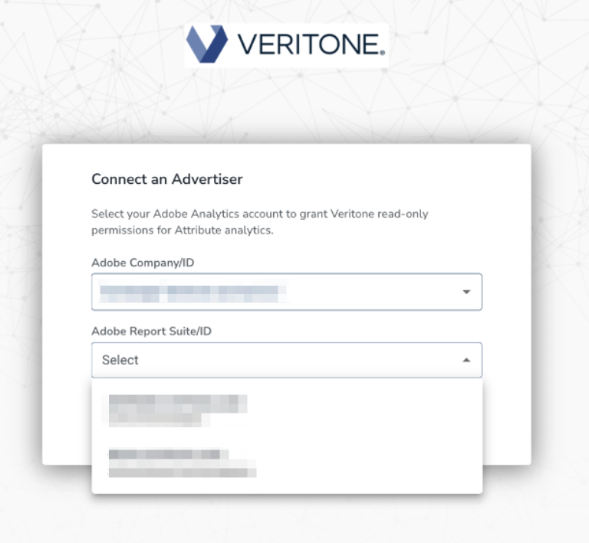
- Once validated, select your Adobe Company/ID and your Adobe Report Suite/ID. Click CONFIRM.
Your broadcast partner will receive an email notification once your data is connected. No further steps are needed on your end.

