In this Article
- Video Tutorial: Settings Profiles
- How to create a Settings Profile
- How to apply your Settings Profiles
Overview
Veritone Redact’s default settings are applied to your media upon upload. However, there may be certain settings that you’re required to use based on the specific media you’re redacting. To streamline your process, you can create a custom Settings Profiles, which allow you to designate and save specific settings to a profile that can be applied when uploading new media.
Video Tutorial
Creating a Settings Profile
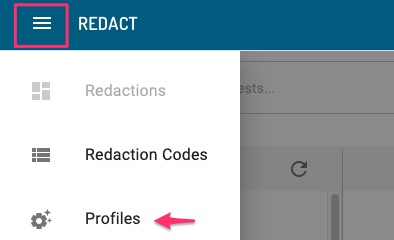
1. From the Redact Homepage, navigate to the Hamburger menu in the upper left corner, and select “Profiles.”
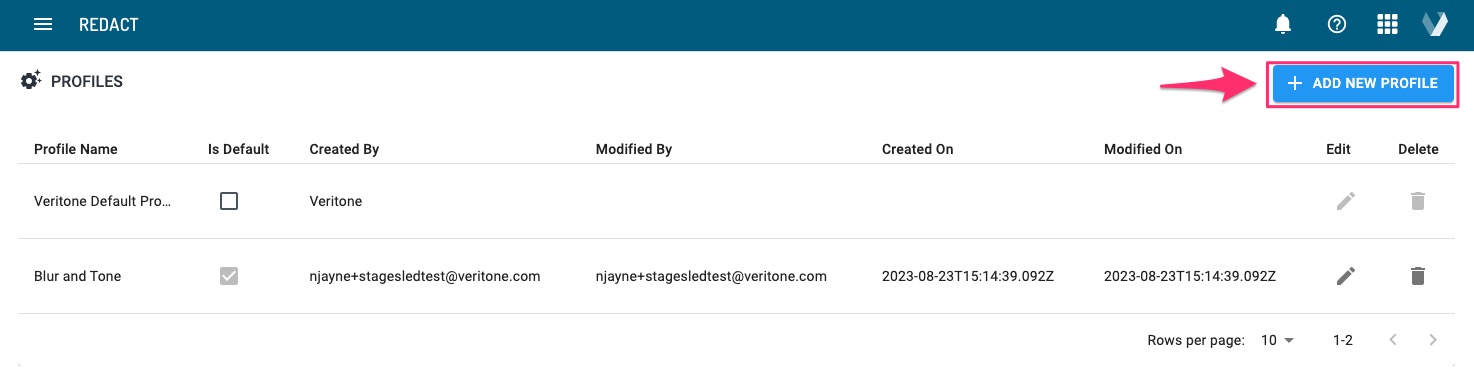
2. Select +Add New Profile in the upper right-hand corner.
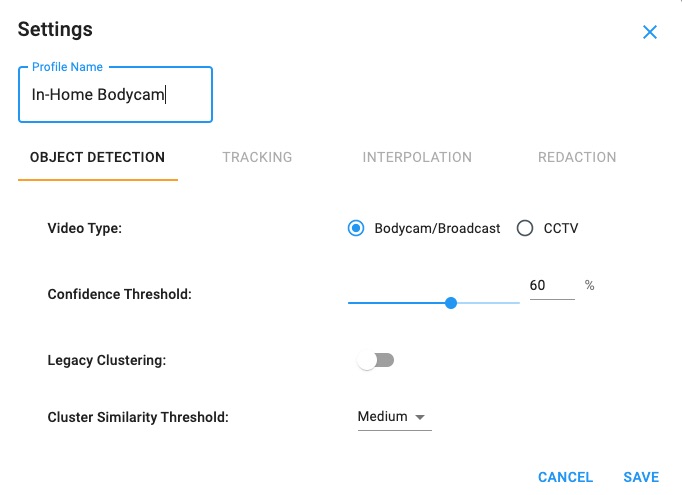
3. Enter the name for this profile, adjust your settings accordingly, and click Save. Please refer to our help article on Settings in Redact for an overview on our settings.
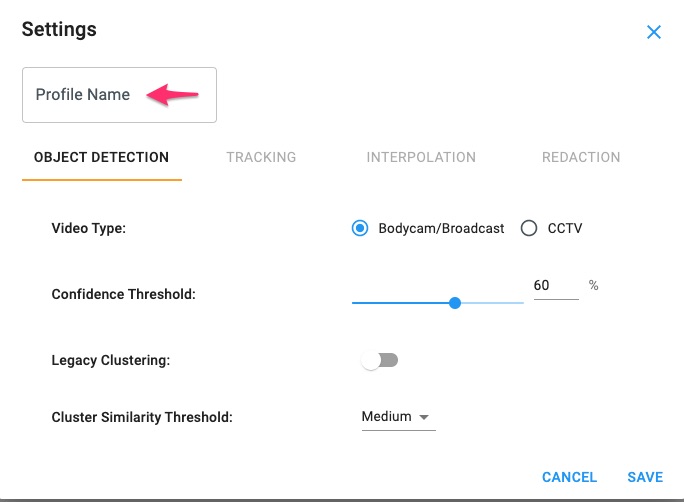
PRO-TIP: You can make one of your Settings Profiles the default settings by selecting the associated checkbox on the Profiles page. Otherwise, Veritone’s settings will be the default.

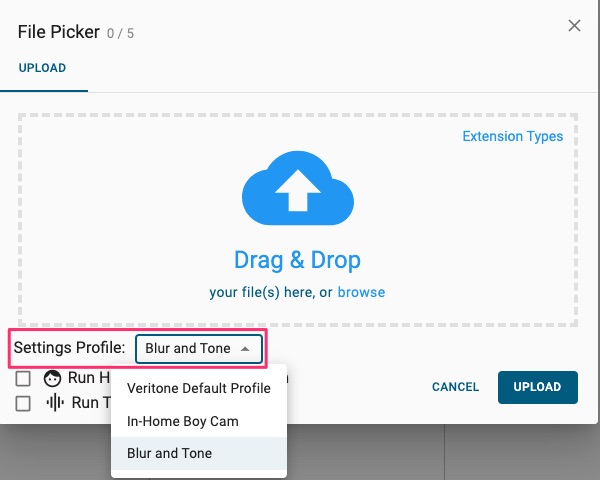
Using a Settings Profile
A Setting Profile is applied to your file upon upload. To utilize one of the Settings Profiles your agency has created, select the specific profile from the dropdown menu while uploading media. If you have assigned one of your Setting Profiles as the default profile, you do not need to adjust the dropdown.
Note: Regardless of the Settings Profile you have selected on upload, you can still change your settings using the settings gear on the File Manager Editor Page.
If you have any questions about settings profiles, contact the Veritone Support team at Support@veritone.com.

