AUTOMATE STUDIO USER GUIDE
This tutorial describes how to build a flow in Automate Studio. A flow is a group of logically connected nodes that run certain processes in aiWARE.
Building blocks of a flow
The main concepts of creating a flow are:
- Nodes: The button-like shapes in the editor that represent discrete steps in a flow. Typically, a flow contains at least one Input Node, one Functional Node, and one Output Node.
- Wires: The lines that connect the nodes.
- Flow: An overall term for the "graph" (or node-and-wire model) that's defined by dropping and connecting nodes on the canvas.
- Subflow: A group of nodes presented as a node in the palette that can be reused in the main flow.
- Message: The
msg variable is the highest-level variable sent from one node to another at flow runtime.
Step 1: Create a flow
Flows are created by dragging and dropping nodes on the canvas and wiring them together. This example creates a simple flow that extracts user information and sends an email.
- Go to automate.veritone.com.
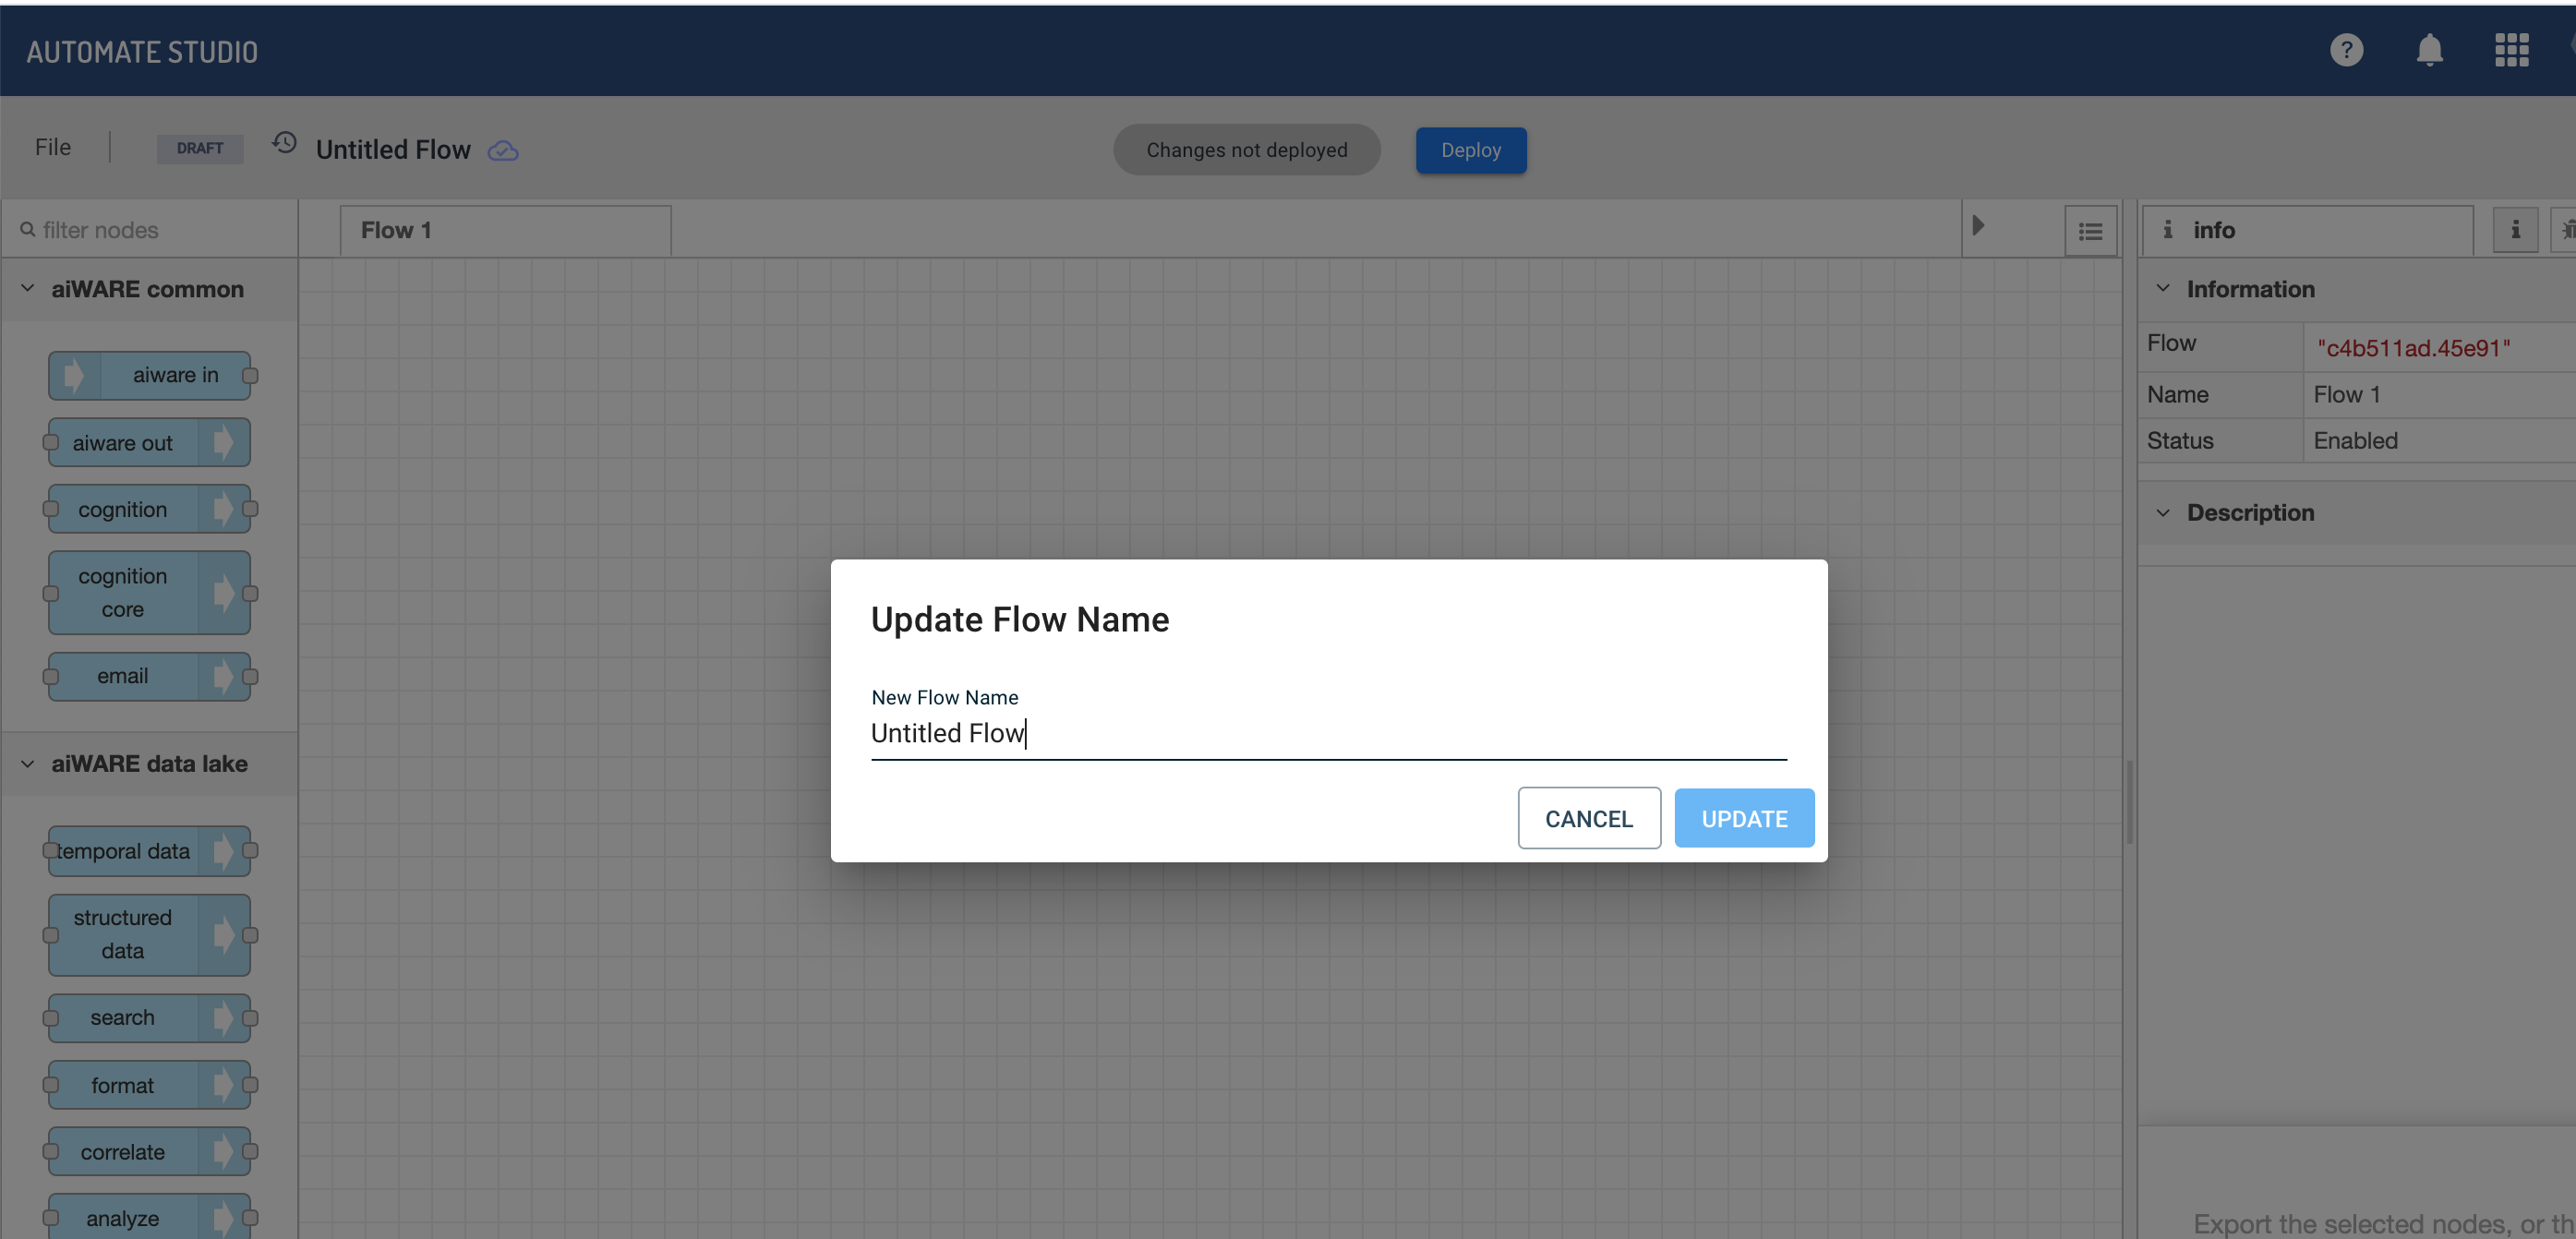
- To open the flow editor, click New Flow.
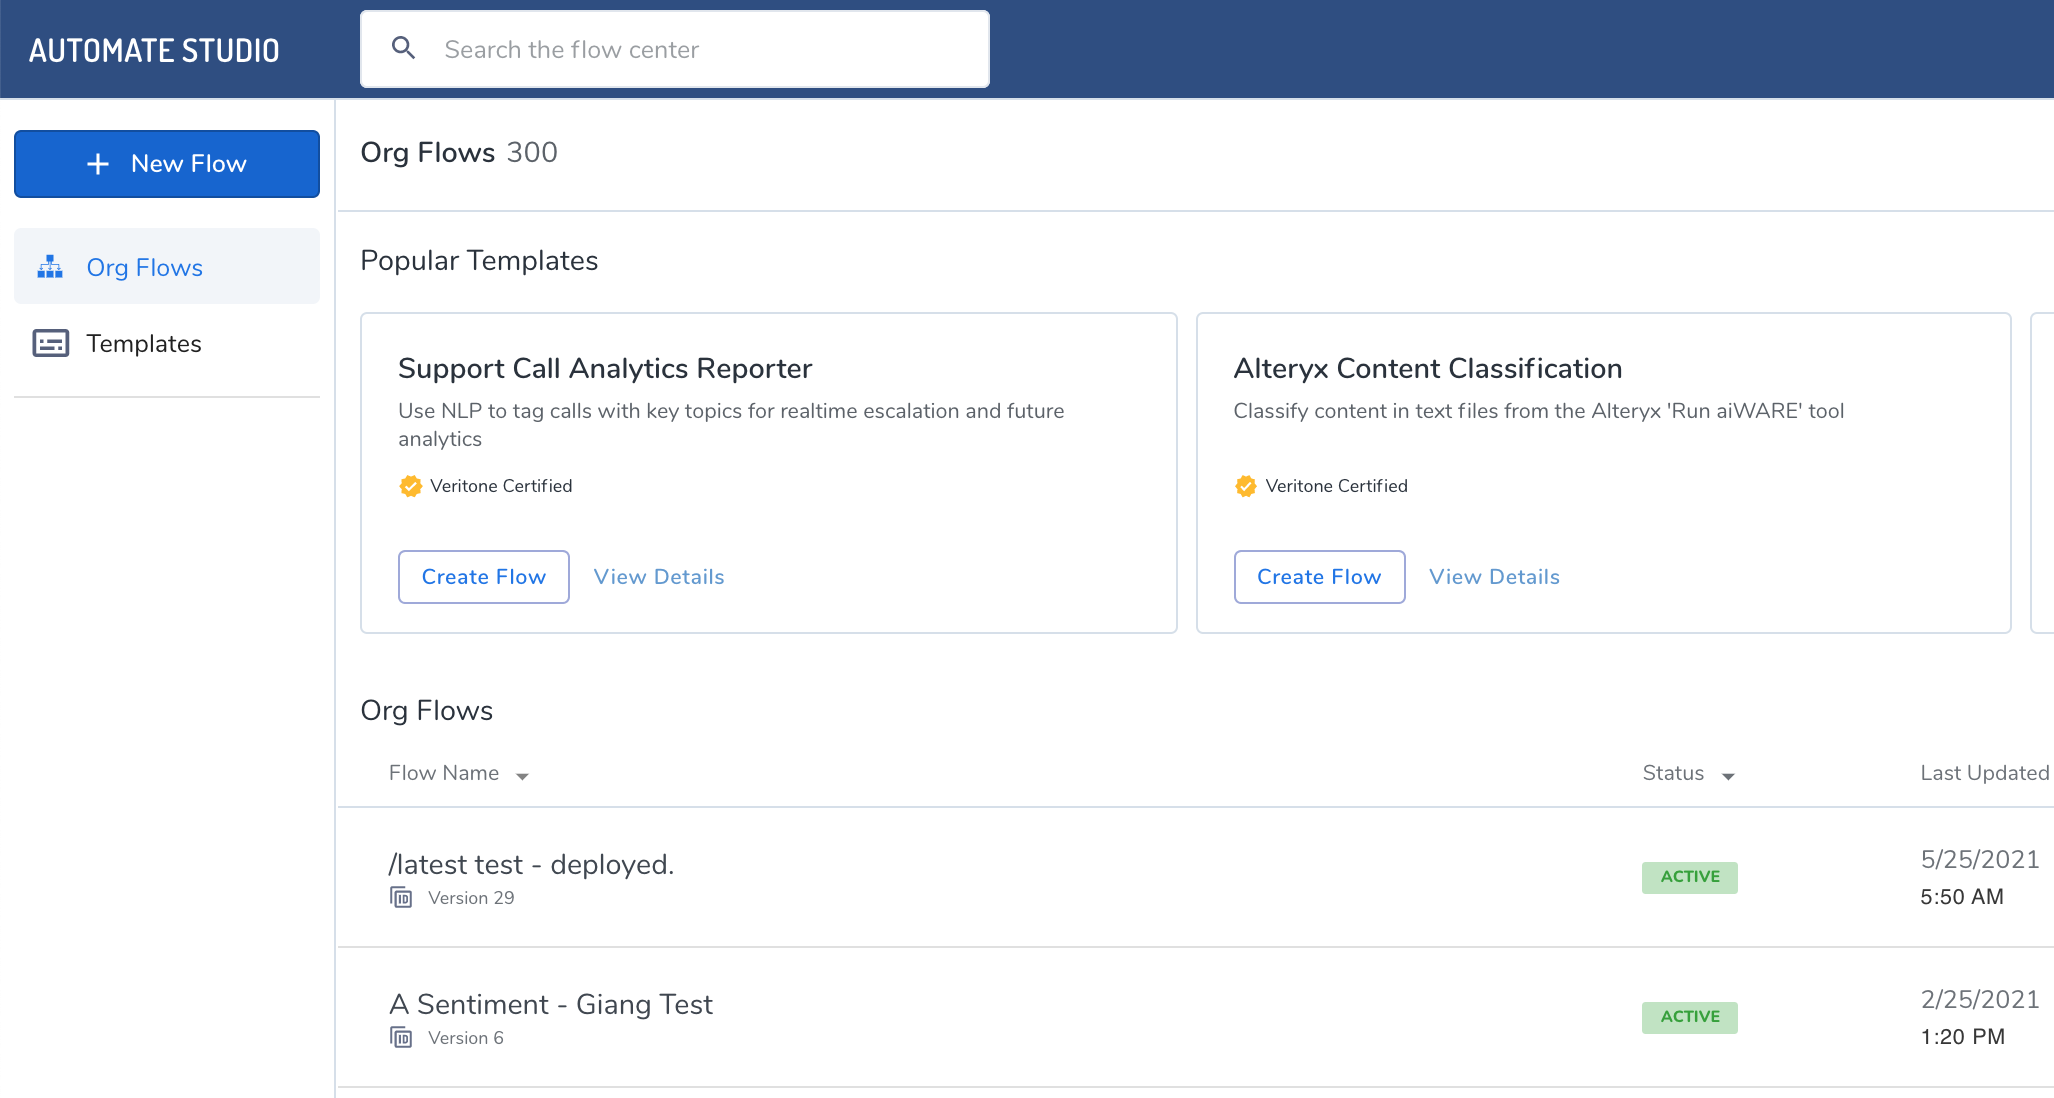
- In the dialog box, name your flow.
- From the node palette, drag an aiware in node, a user details node, and an aiware email node onto the canvas.
- To connect the nodes, drag a new wire from the right edge of each node to the left edge of the next node. The canvas looks like this:

[Note] Some nodes have two output ports on the right. The top port is for ordinary output while the bottom port is for error reporting. Don't worry about the bottom port. As long as the top port is wired, the flow is functional.
- Double-click on the aiware email node to open its properties. Change To Email to
msg., then type payload.aiware.user.name in the text field. Type Automate Studio in Email Subject. Type Hello World! for the Message Body. For example:
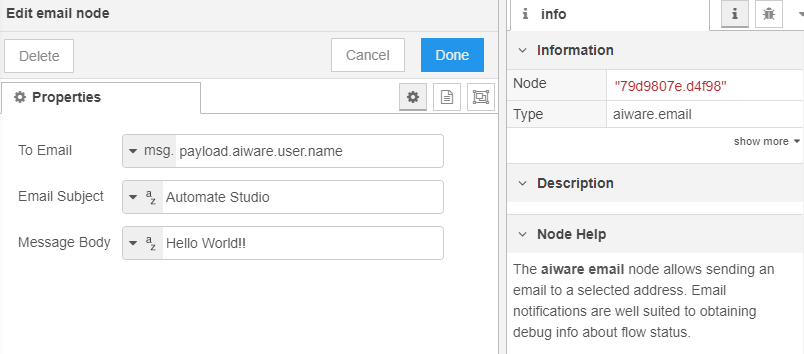
- Click Done when finished. A small blue dot appears along the top edge of the node whose properties were just edited. This dot disappears seconds after the changes autosave.
Step 2: Run the flow
- To enable the display of debug messages, select the bug icon on the information pane on the right.
- Select the box at the left edge of the first node (the node labeled
aiware in). This runs the flow from start to finish. An inject.airware-in.success message appears, and then all three nodes show an aiware.success message underneath. - Check the inbox for the email address linked to your Veritone account. The subject is Automate Studio. Any errors that occur appear in the Debug pane on the right.

