Using Resource Center, solution developers can easily create new aiWARE packages that group related or disparate resources together for simpler distribution. Common use cases include creating a package of updated translation engines for multiple languages, coupling individual engines with their required schemas, or packaging a variety of resources together to support new types of functionality to meet specific business needs.
Access Resource Center
To access the Resource Center utility, log in to your aiWARE administrative account, and from the header bar, select  and then Resource Center
  . Resource Center slides out as a panel.
Create a new package
- From Resource Center, click Create New in the upper right, then Package. The Package Manager panel slides out.
There are three steps in the Package Manager wizard.
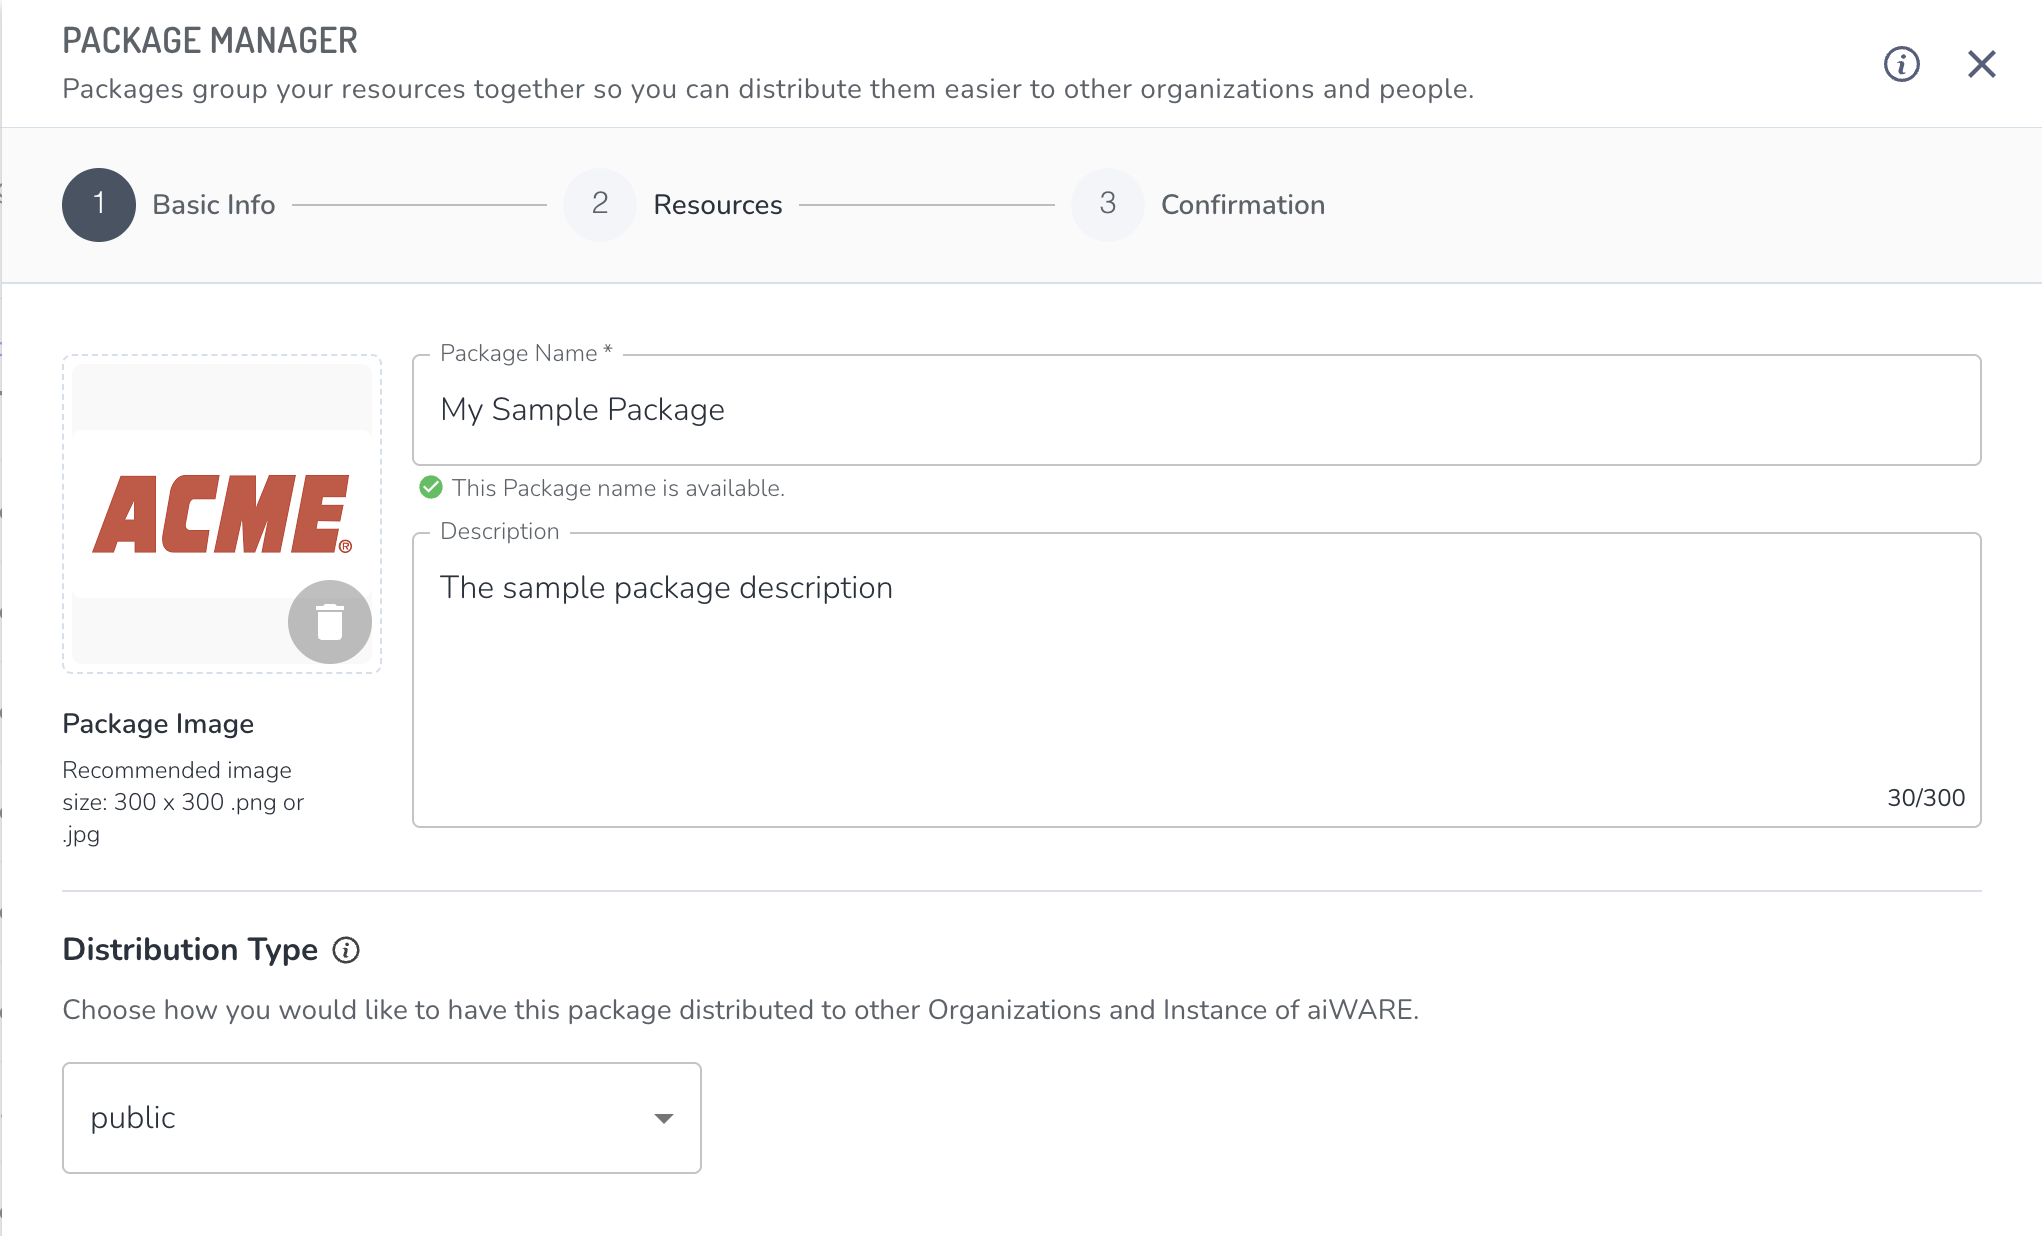
Step 1: Basic info
- Add a name and description. Adding intended use cases for the package in the description field is recommended.
- (Optional) Upload an image for the package.
- Select a Distribution type:
- Public - The package will be made available to all organizations in the same aiWARE instance without needing to be granted.
- Private - The package will not be distributed outside either the organization or the aiWARE instance it was created in.
- Shareable - The package can be granted to other organizations, but unlike Public packages, it is not automatically shared, and must be granted to them.
- Org-locked - The package can only be distributed to instances within the current aiWARE organization. If the organization uses more than one instance of aiWARE, the package can be provisioned on those instances for that aiWARE organization only.
- Instance-locked - The package can be granted to any organization on the same instance it was created on.
[Warn]The distribution type you select will dictate and must match the resources that can be put into this package in step 2.
- Click Next.
Step 2: Resources
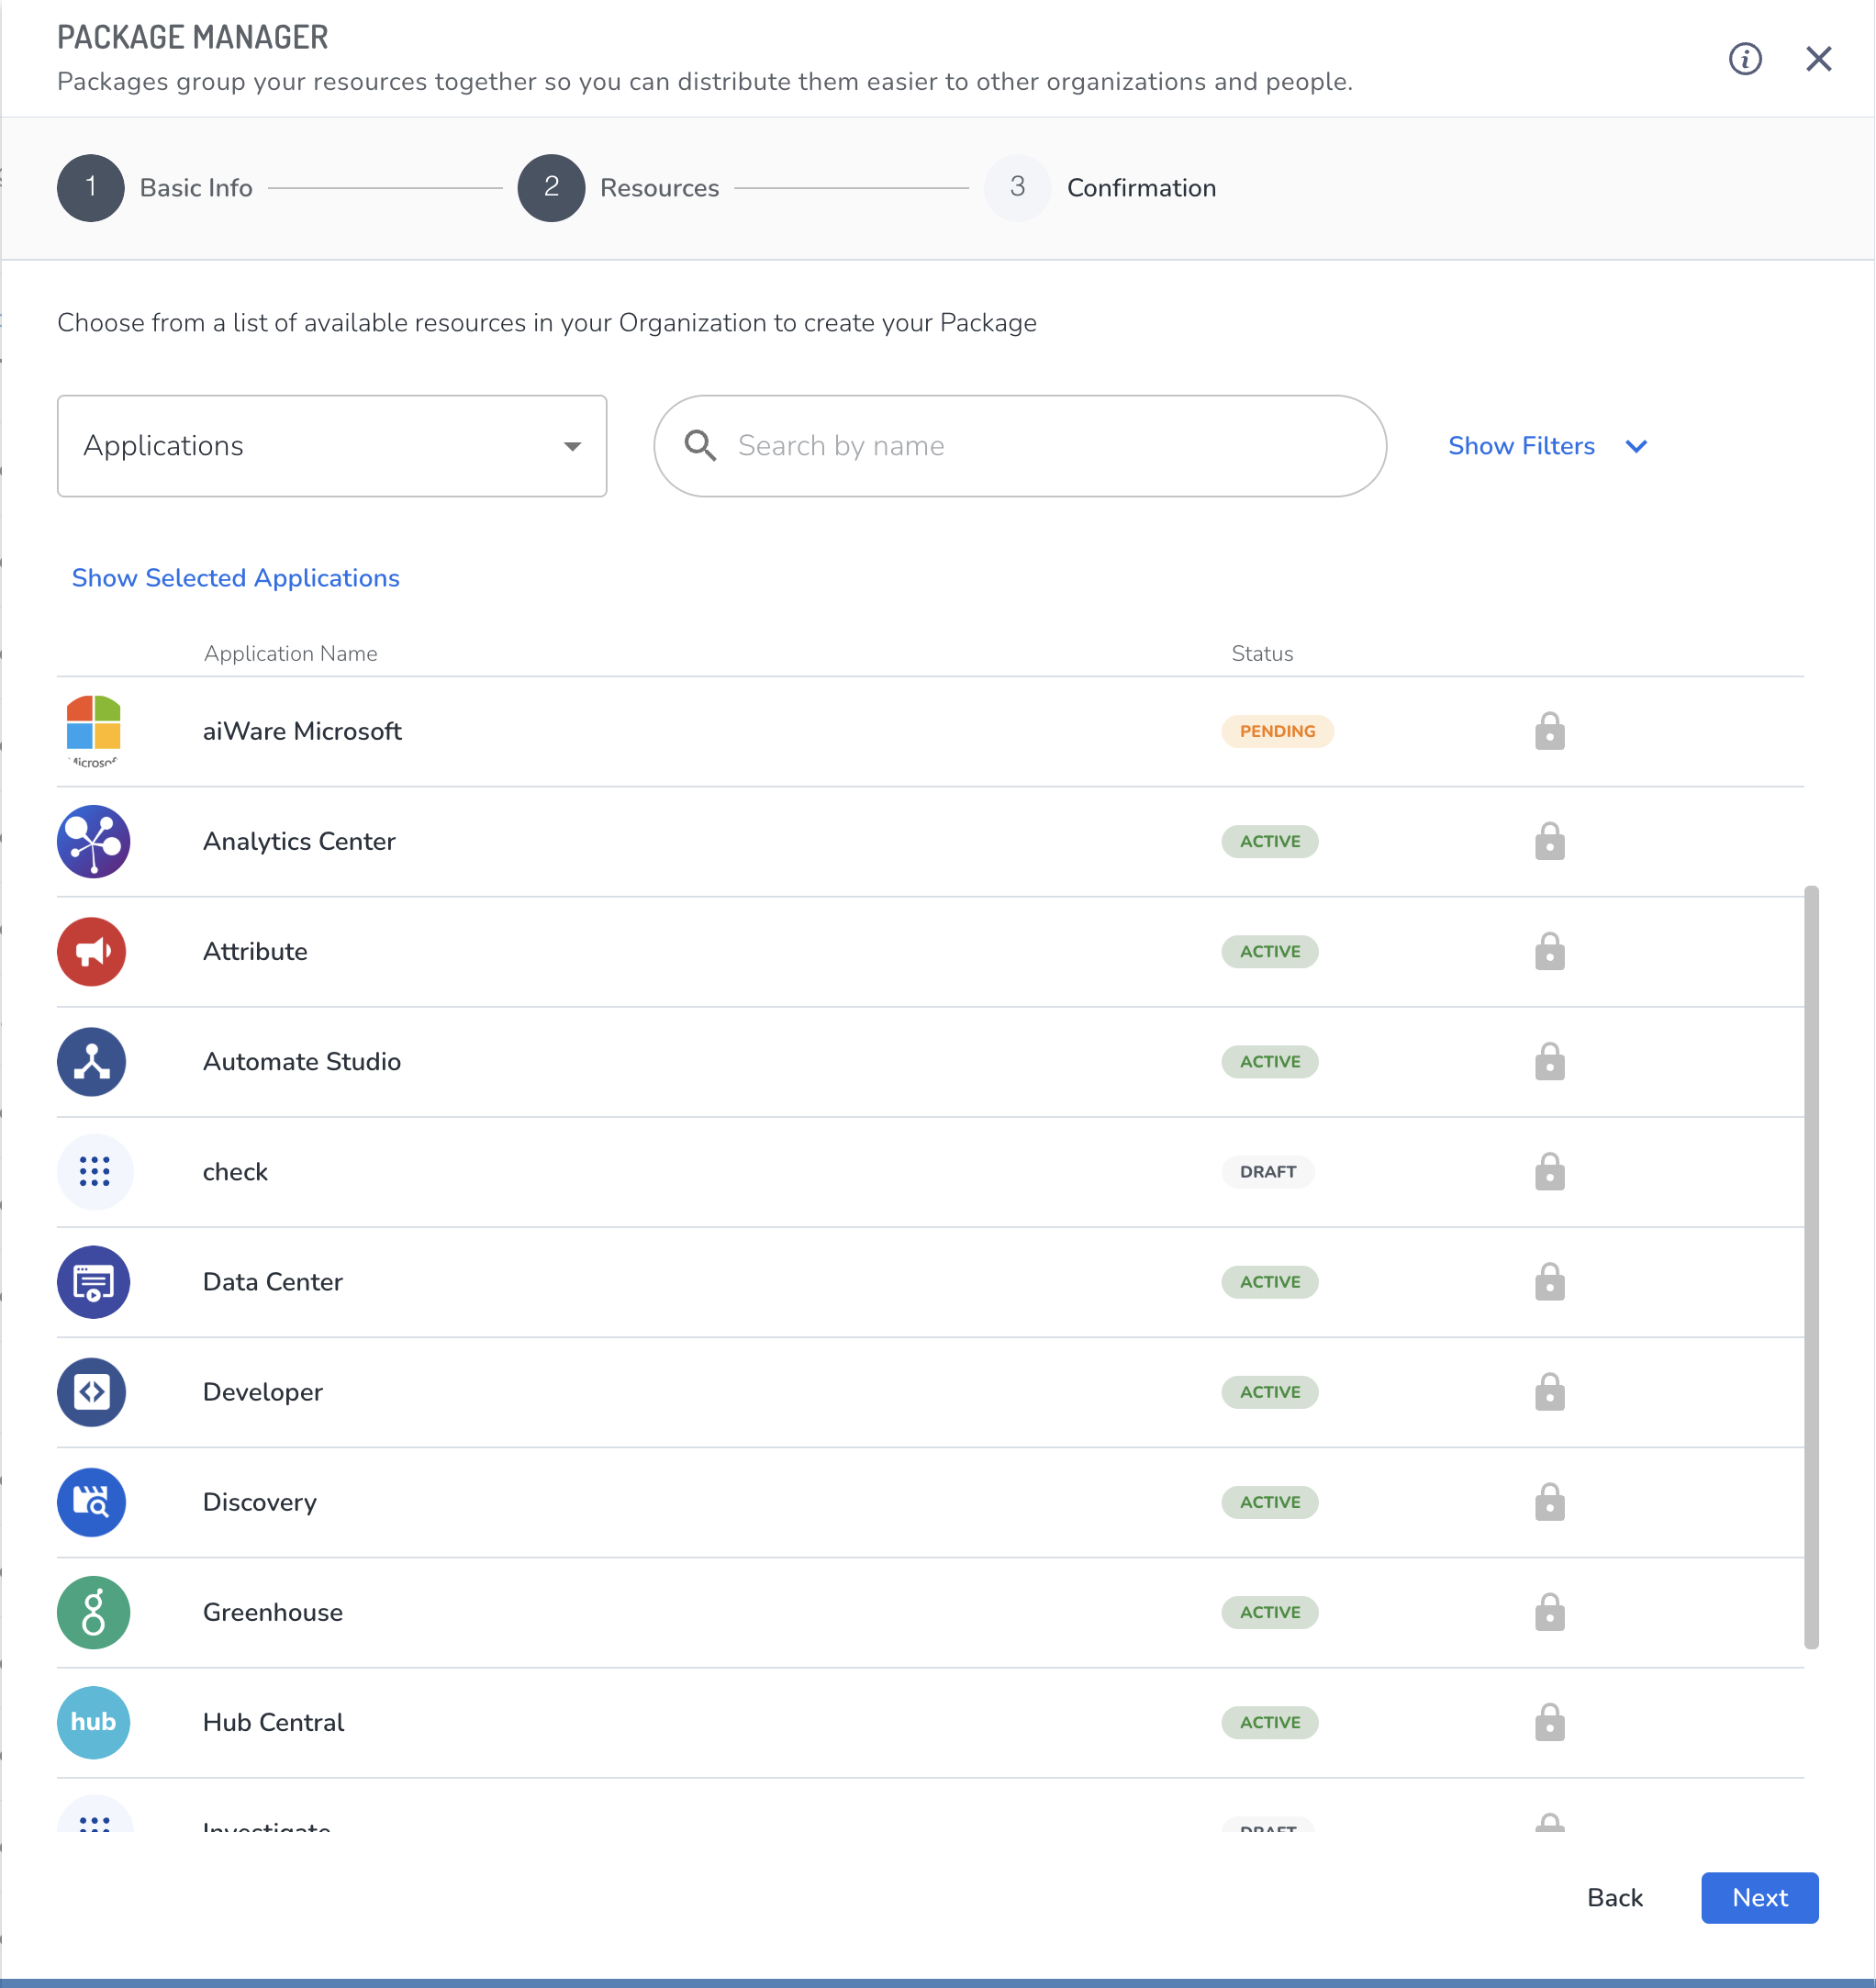
- From the resource pulldown, select a type. The list of resources is based on the resource type selected. To filter the list further, search by name (search is case sensitive) or select Show Filters and choose a Status:
- Draft
- Pending
- Approved
- Published
- Deactivated
- Click the Add to package icon
 next to the resource you want to add. You can select multiple resource types, and more than one resource of the same type. To get additional information for an individual resource, click on its line in the list to open the Package Details panel. Because the list of available resources can be long, clicking Show Selected will display only those resources that have been selected so far.
 - Click Next.
To see additional details on the resource, click the row item to open the associated detail panel.
Step 3: Confirmation
In the Confirmation step, you can select a primary resource for this package. This is not required, but can help determine a package's use.
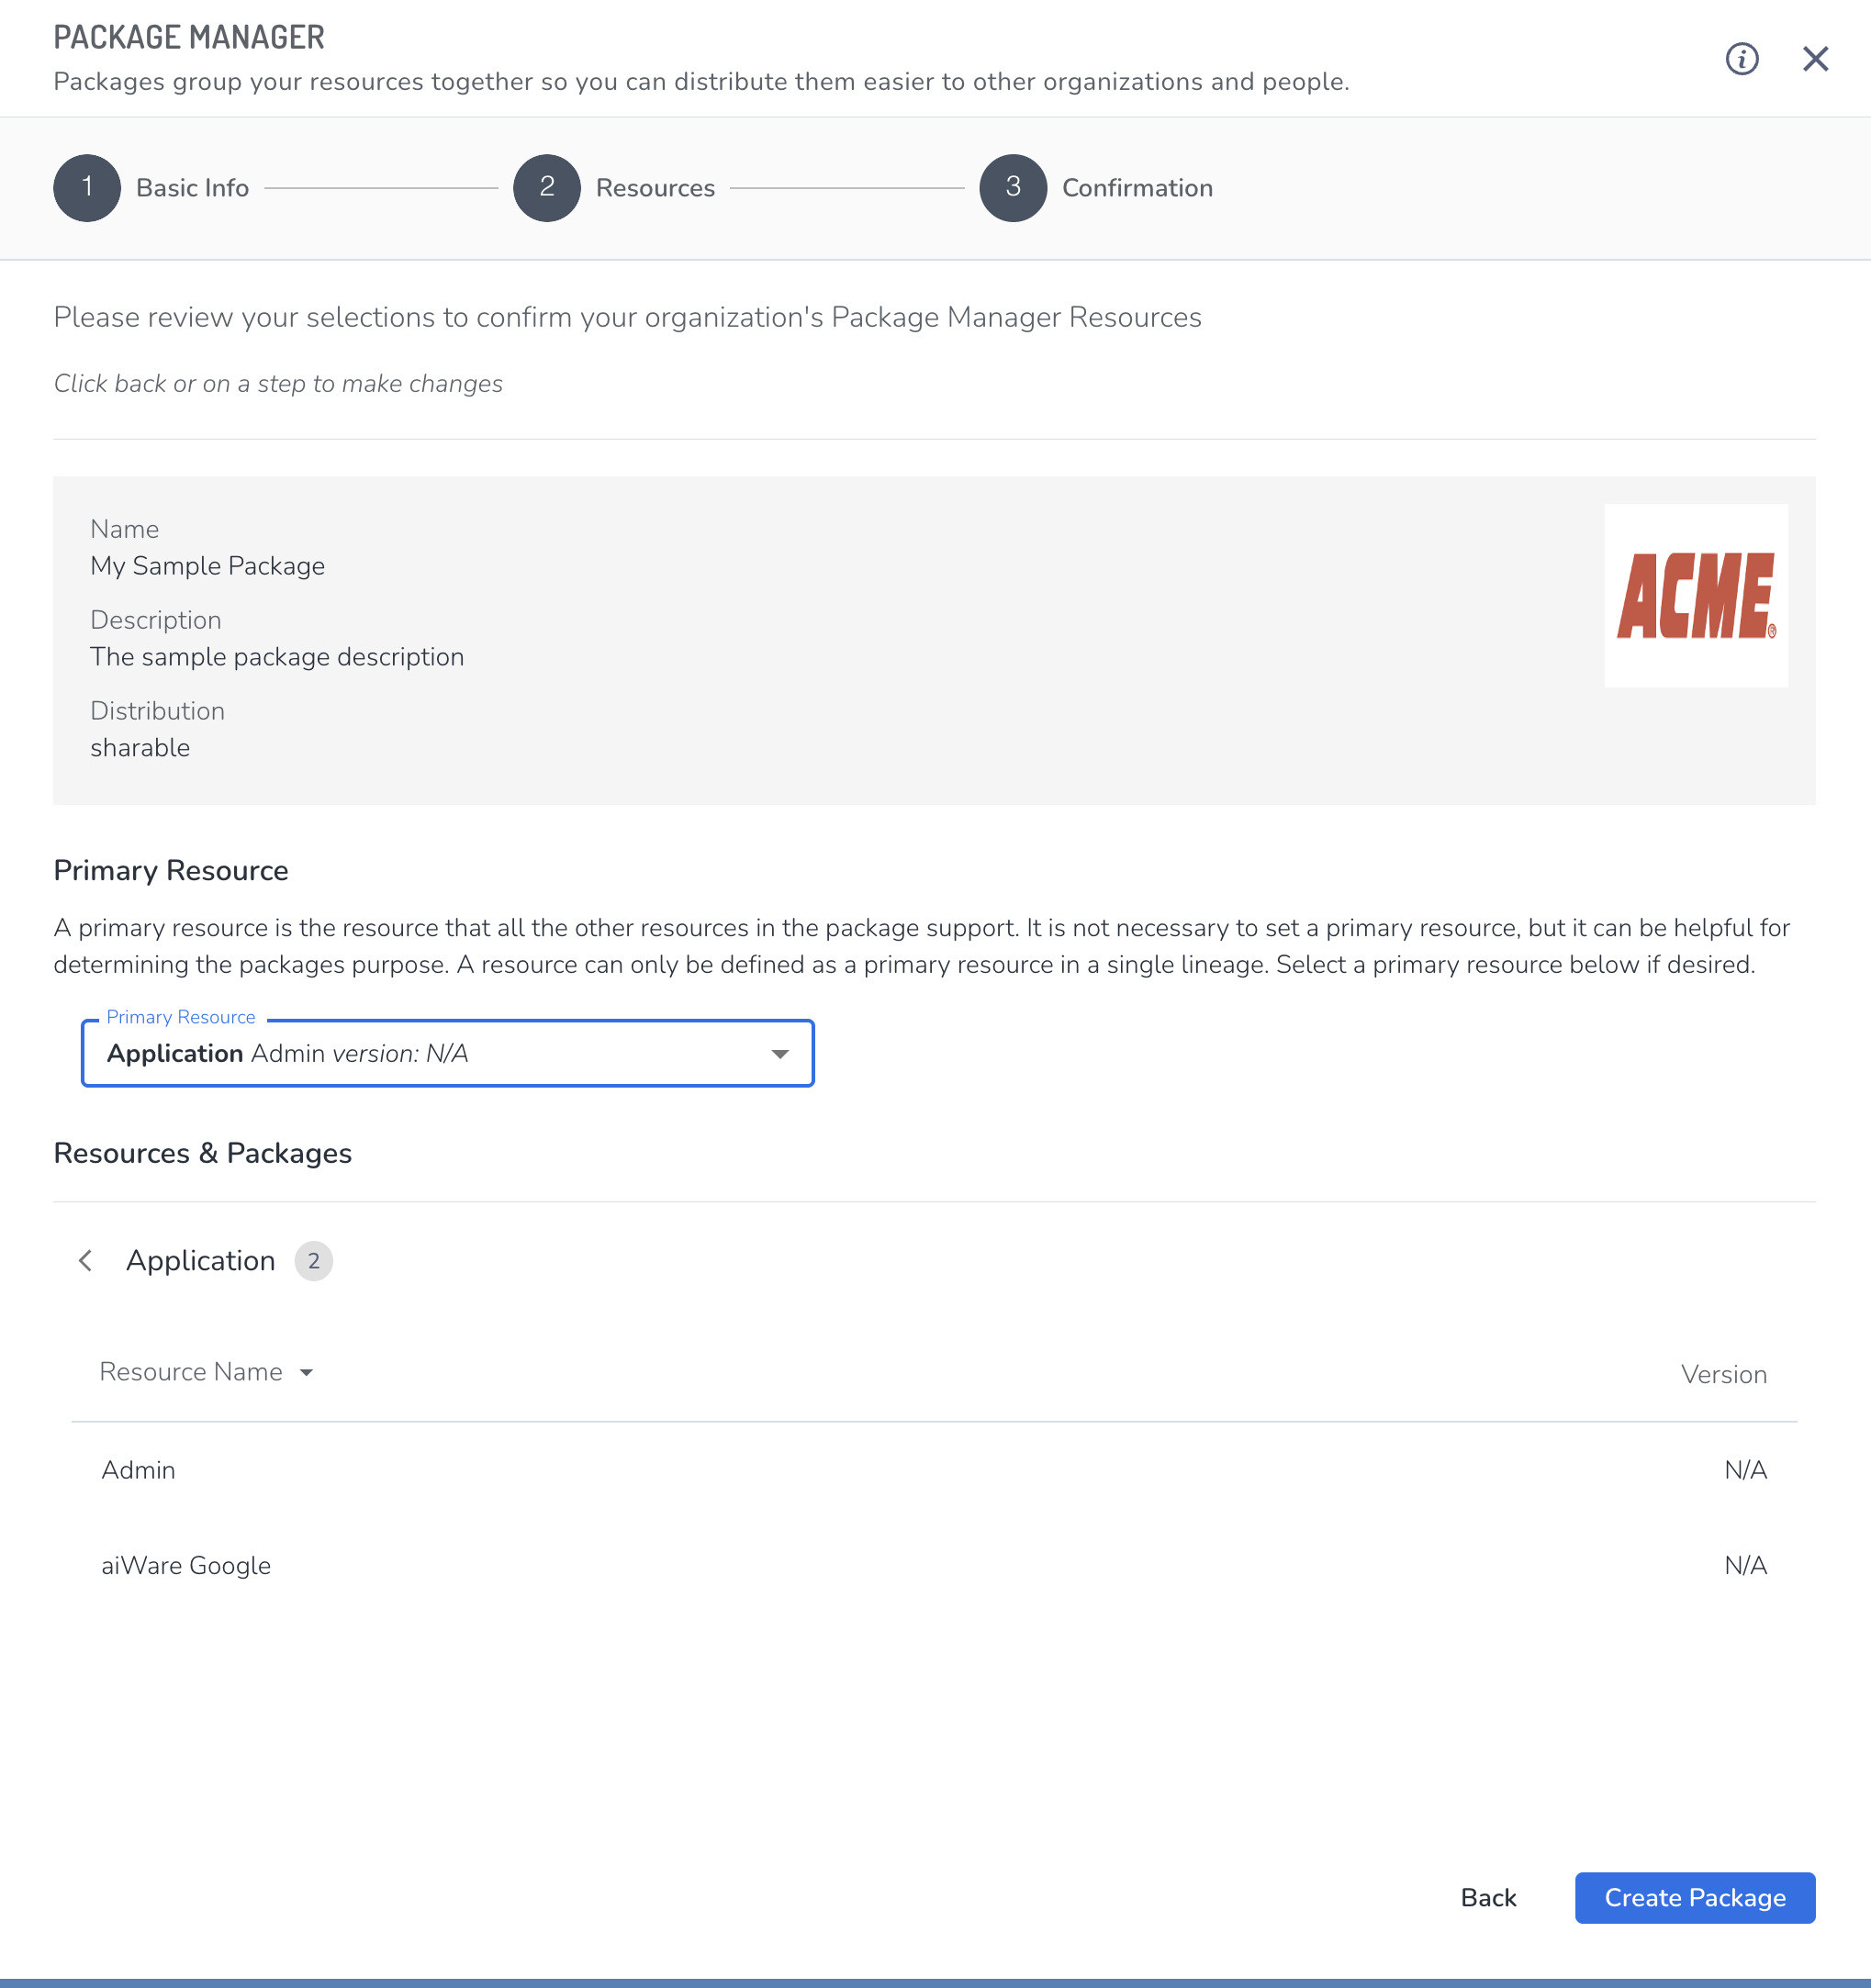
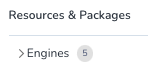
[Tip] Before completing the confirmation step, you can see all the resources that will be included in the package by clicking on the arrow  next to each resource type:
- Click Create Package. The new package will appear in the Packages table, and may be available to other organizations or instances based on the selected distribution settings.

