Overview
Veritone Redact’s Head, Person and Objects Detection engine works by scanning through your video frame by frame, looking for any heads, persons, laptops, license plates/vehicles, and notepads. This article will review the workflow once you have run auto-detection on your media file.
How to Review Auto Detections
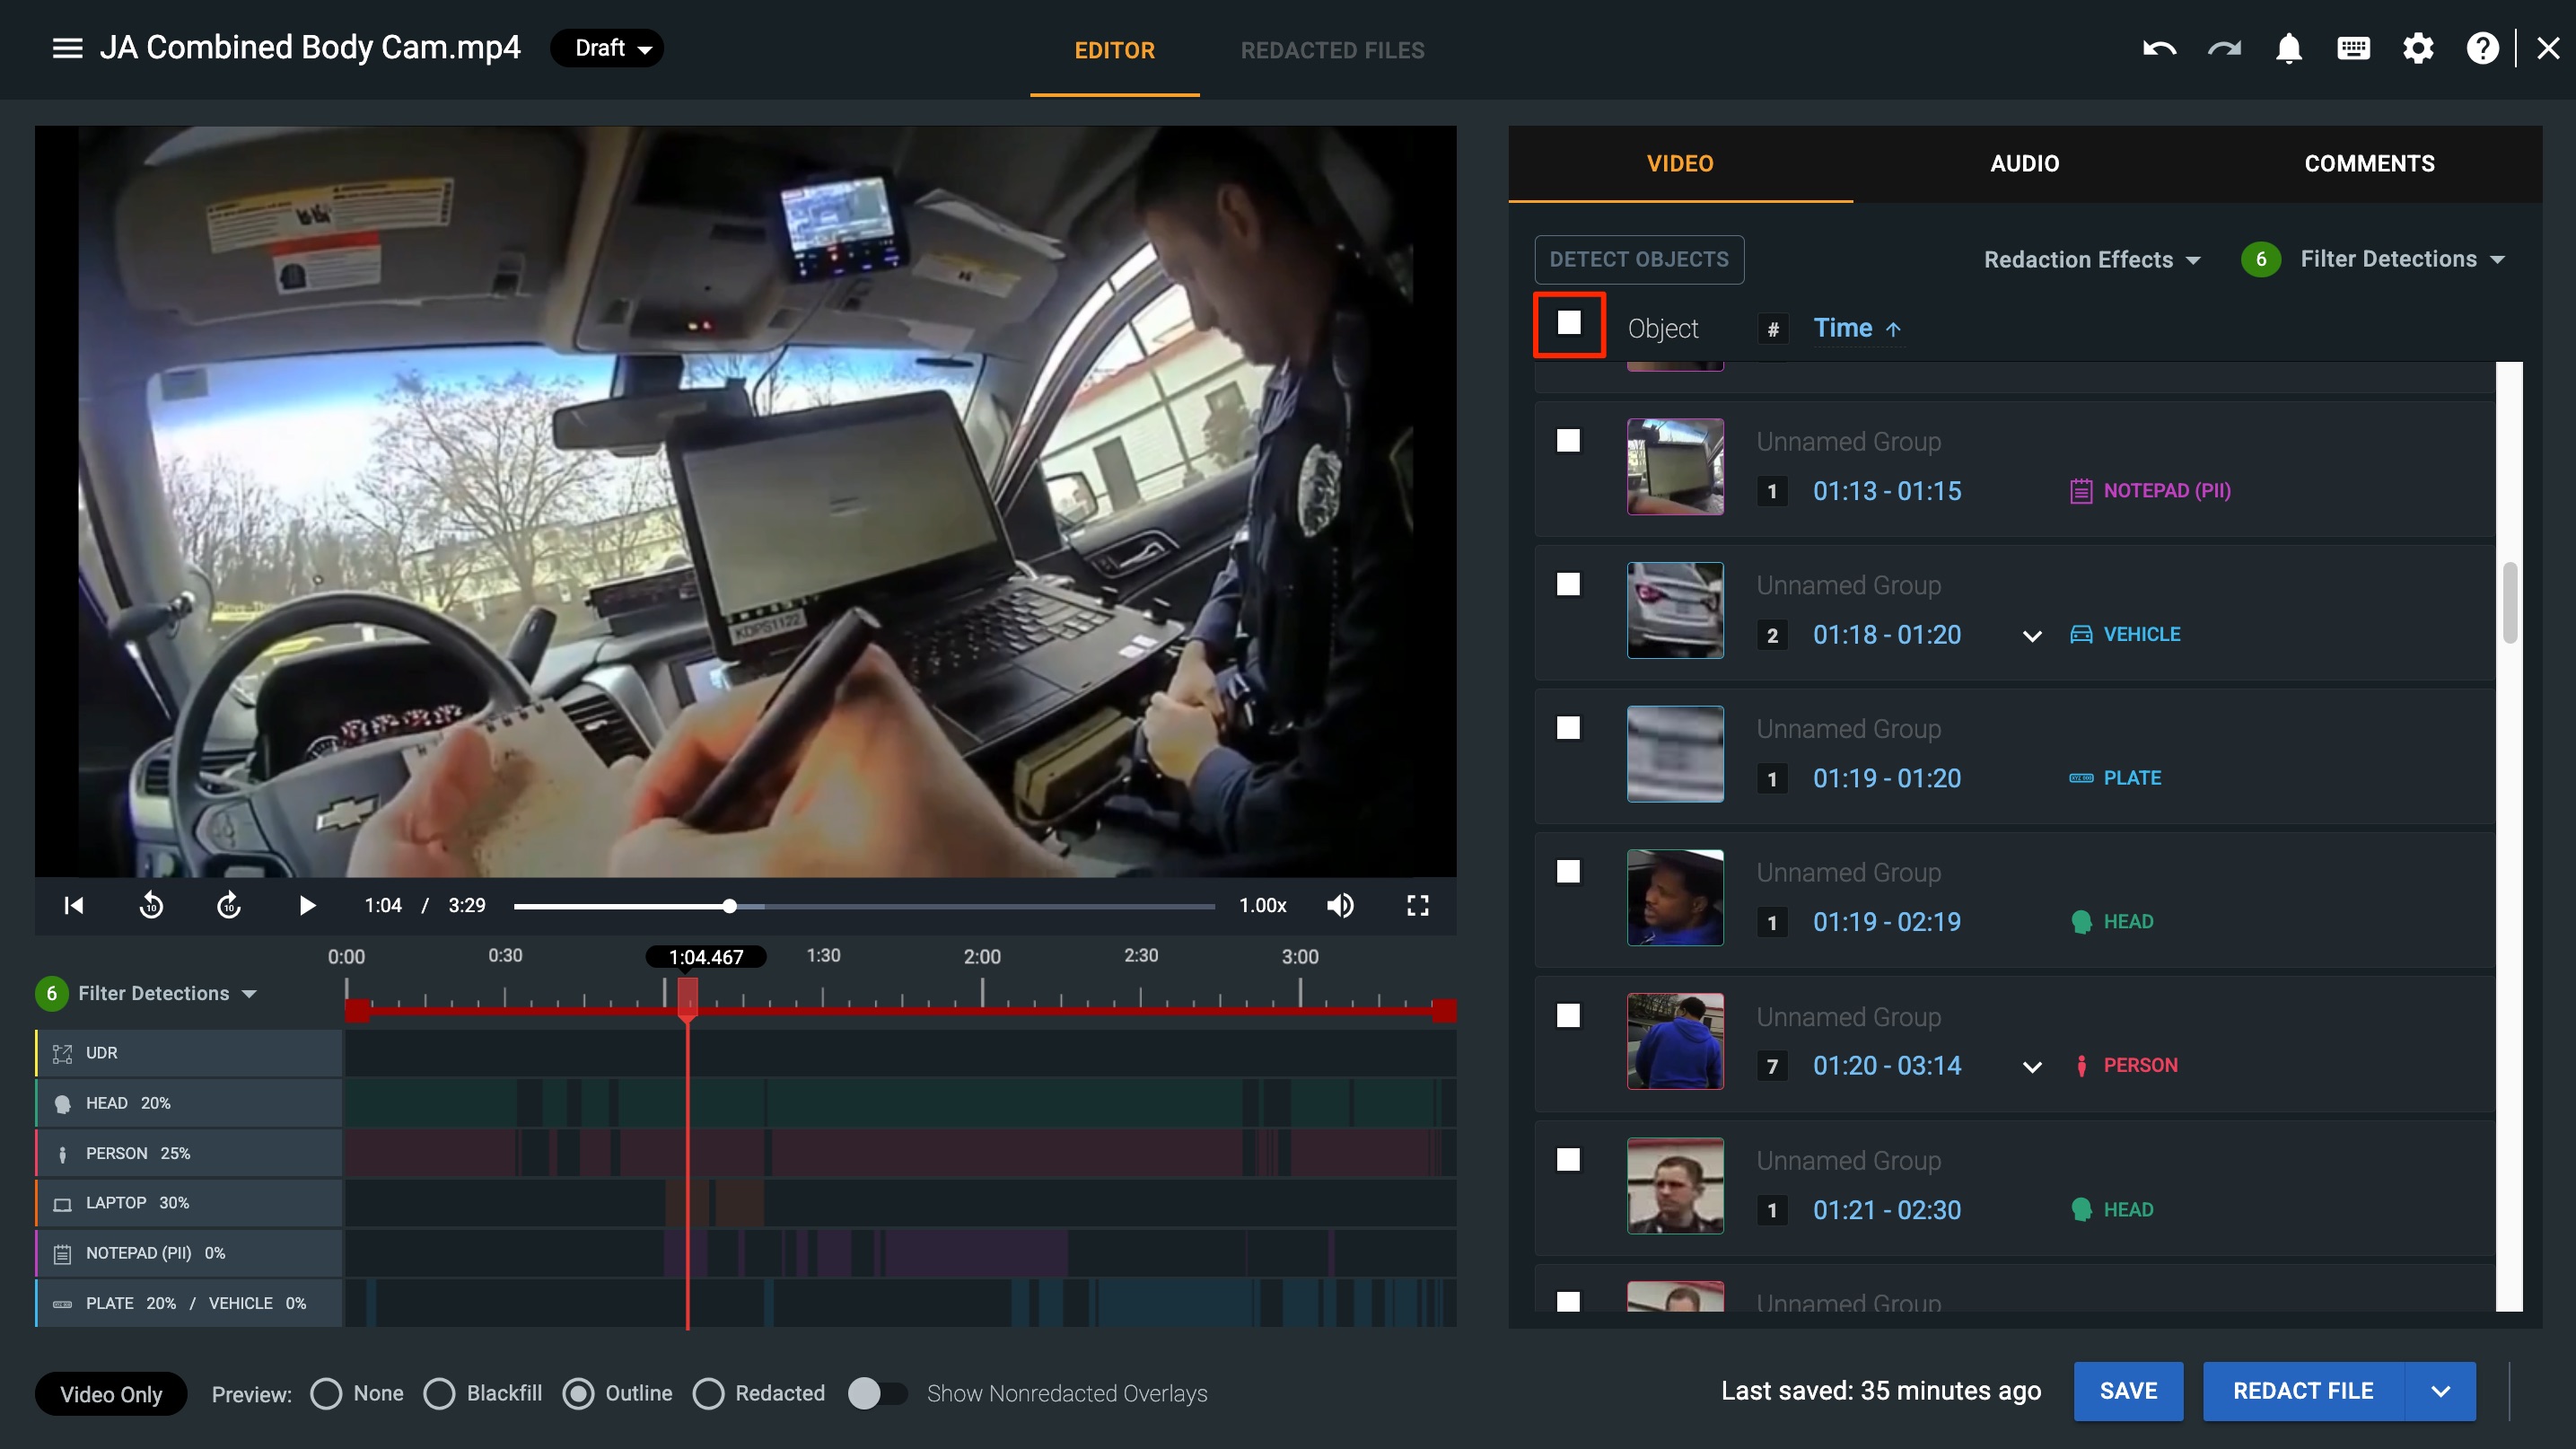
When the engines have finished running, enable all auto detections by selecting the checkbox below the Detect Objects button in the Video tab.
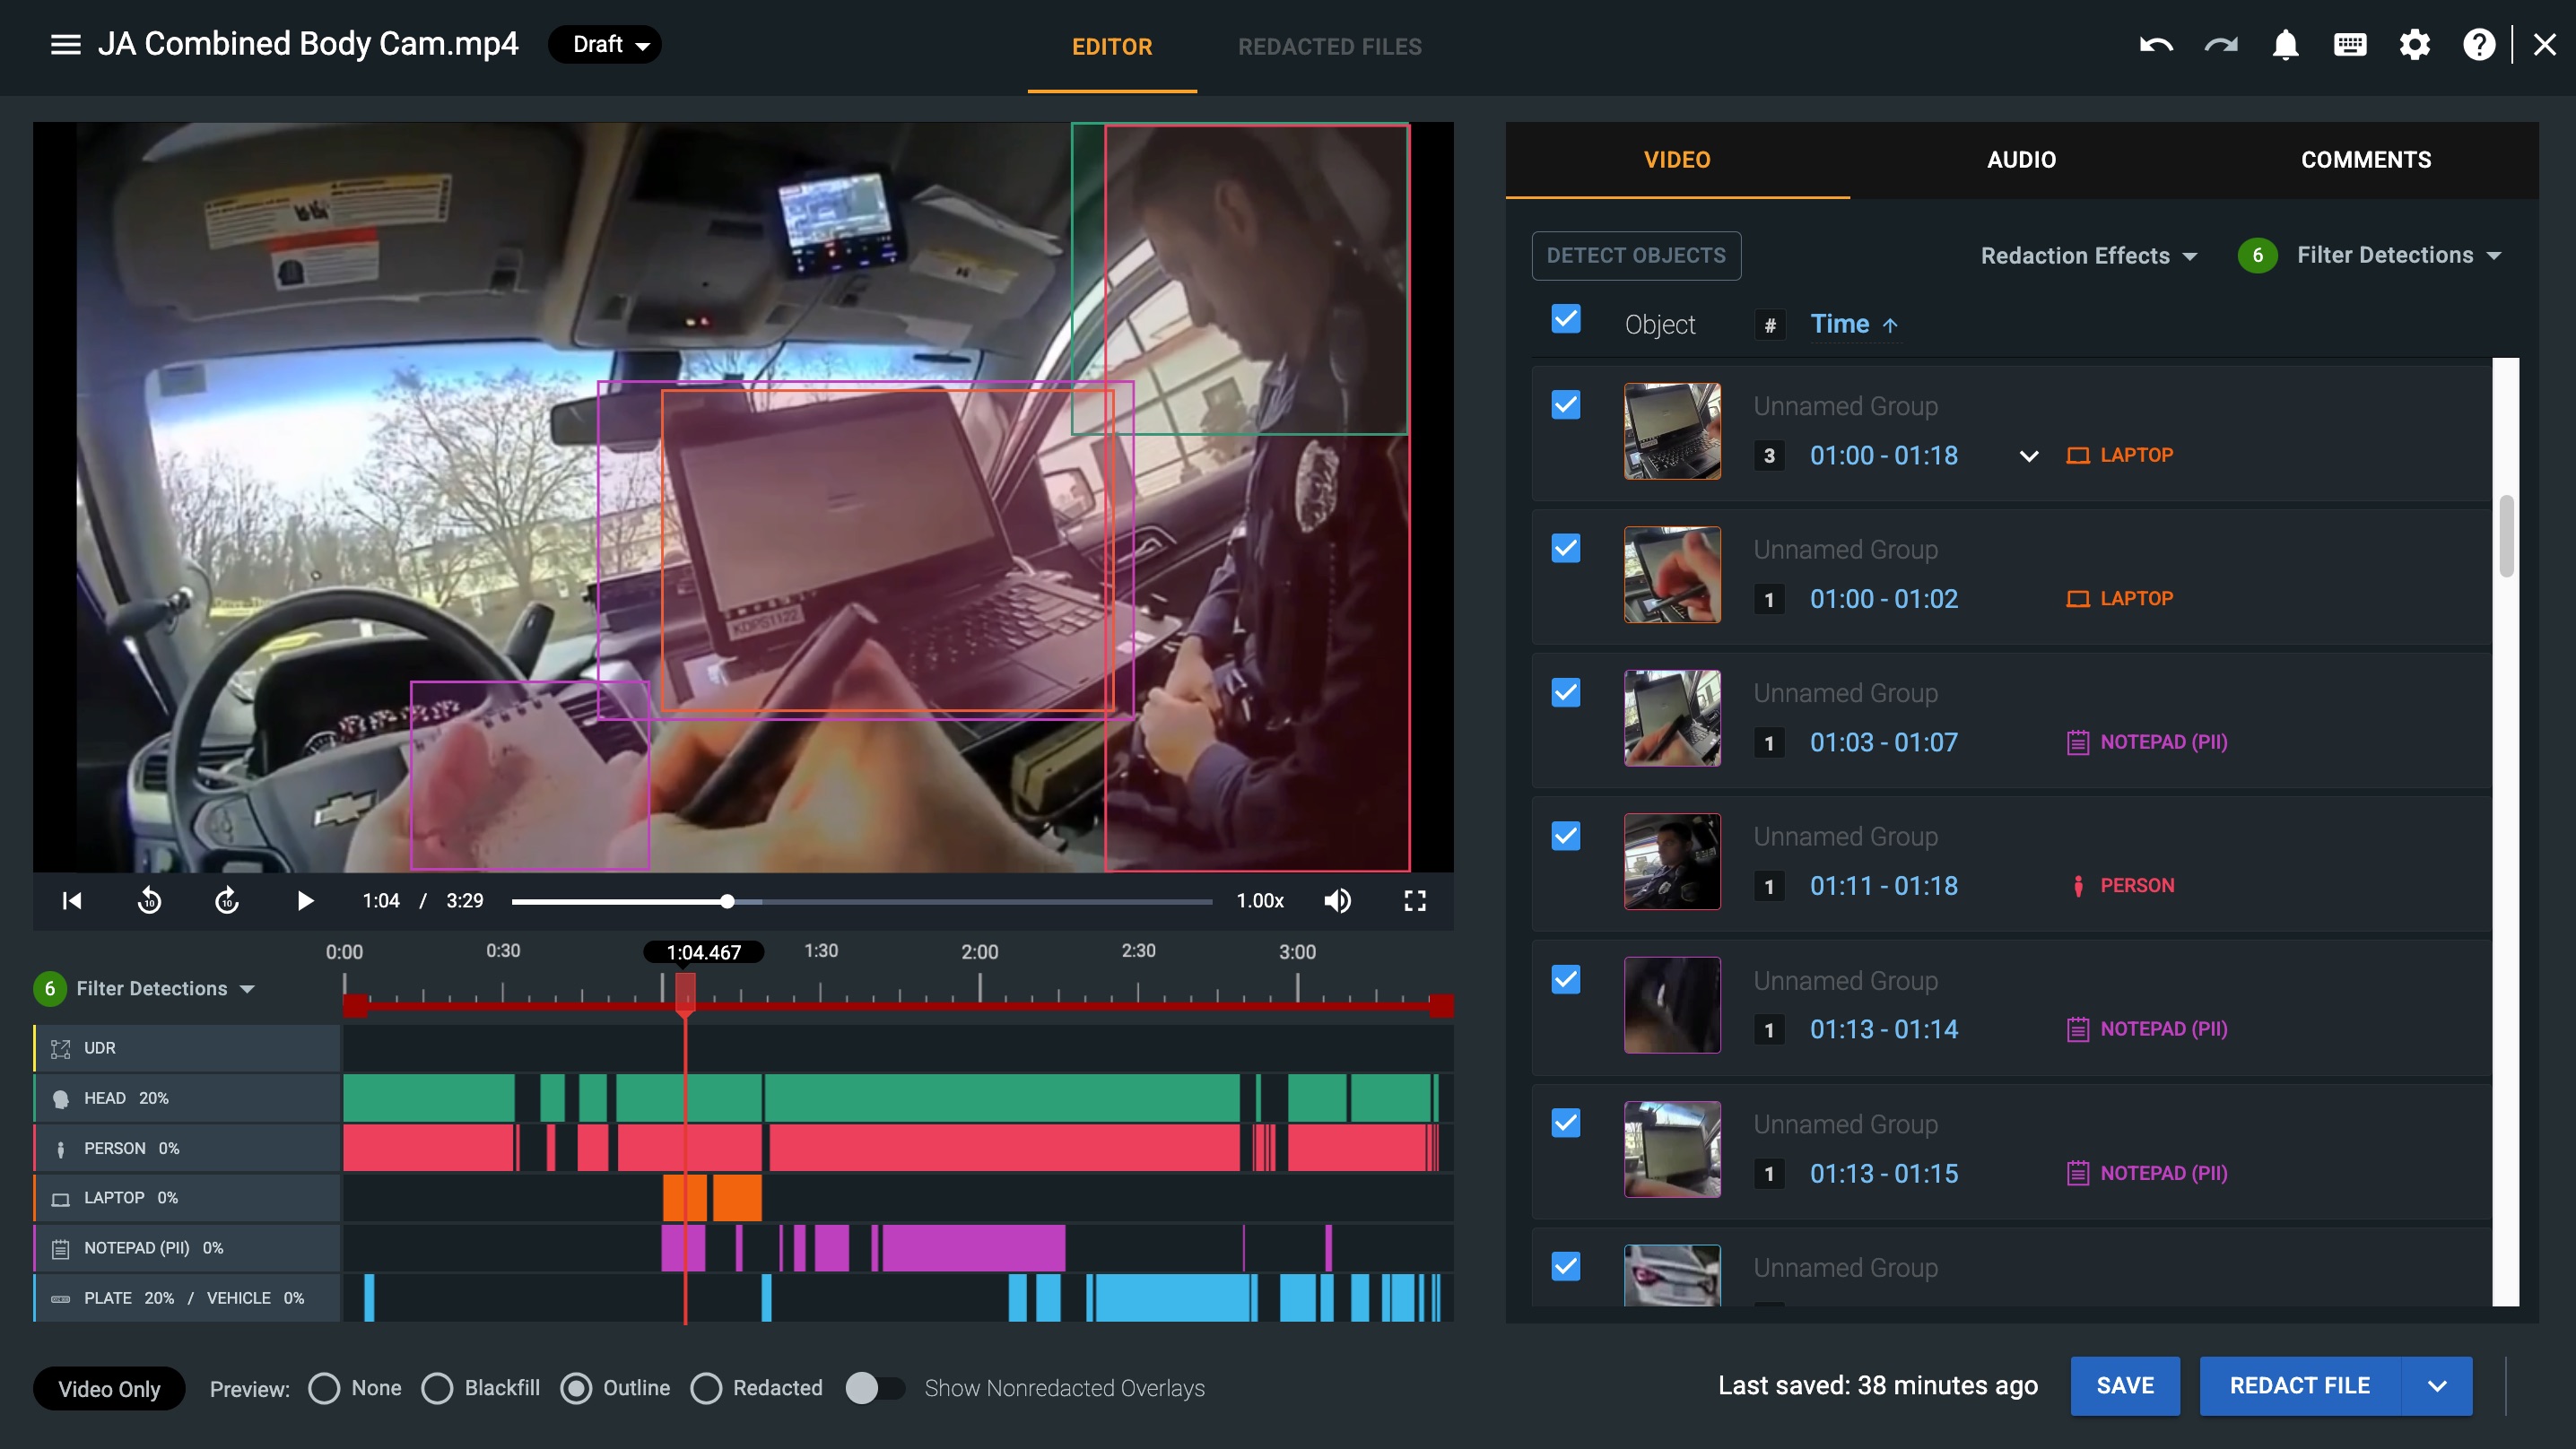
On the left-hand side, the timelines and media player will populate with detections. By default, your autodetections will appear in your media player in an outlined box, which represents the area that will be obfuscated once the video is processed for redaction. You can change how the detections are being displayed using the Preview feature in the lower left corner of the page.
On the right-hand side in the video tab, you will see all auto detections picked up by the engines. Detections with a thumbnail are called detection groups and refer to an instance where an object (whether a head, notepad, UDR, etc.) has a bounding box around it for the duration of detection. A detection group can contain detection segments, which are detections that our engine perceives to be the same (ie, a laptop detected throughout the file). To view these, click the down arrow to the right of a group’s time stamp. You can also create custom detection groups. For more information, please visit our article: Detection Groups.
Each detection, whether a detection group or segment, is associated with a timestamp. Select the timestamp to advance the video to the specific frame at which that detection appears.
You can drag the red marker handle on the scrub bar or utilize keyboard shortcuts to advance at different speeds as desired.
As you review your auto detections, you can remove or delete any unnecessary detections and add User Defined Regions to apply manual redactions.
If you have any questions about our auto detections, contact the Veritone Support team at Support@veritone.com.

